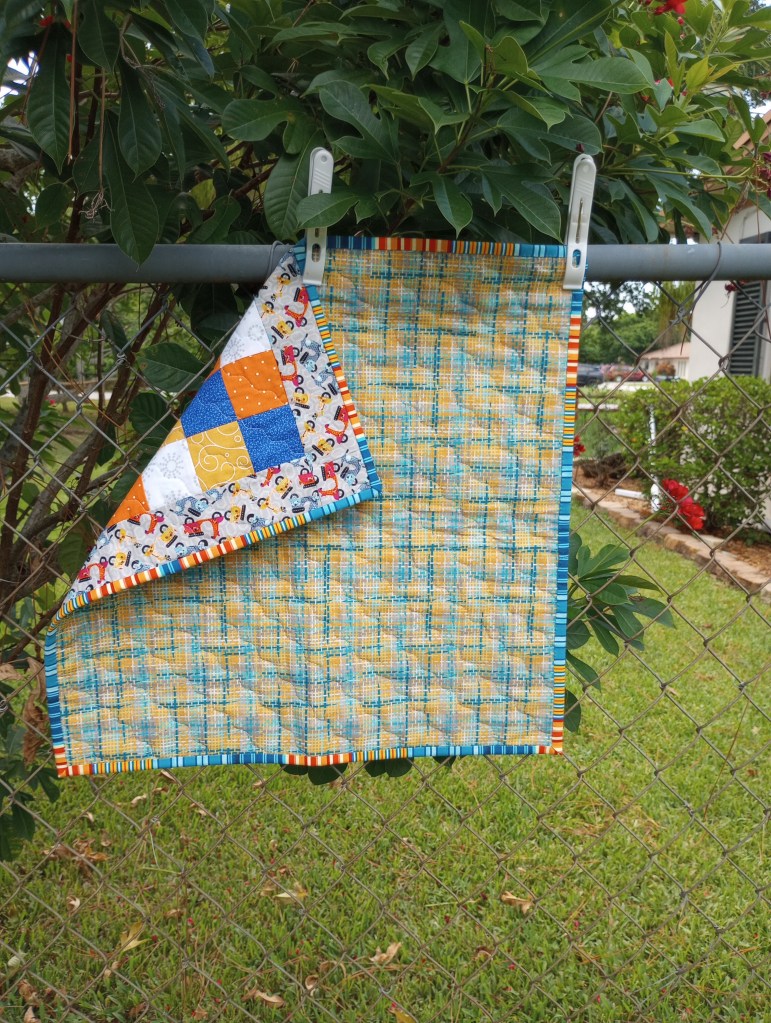
Unicorn quilt

Here are the simple instructions to create the Huggable unicorn quilt top. This is not meant to be a formal pattern and it’s intended for quilters with basic quilting knowledge. I’m sharing it here so you can make one too if you want without having to calculate the math. 🙂

I used width of fabric for some of the pieces and fat quarters for others. To make it less complicated, the cutting info is written as if all the pieces are cut from fat quarters.
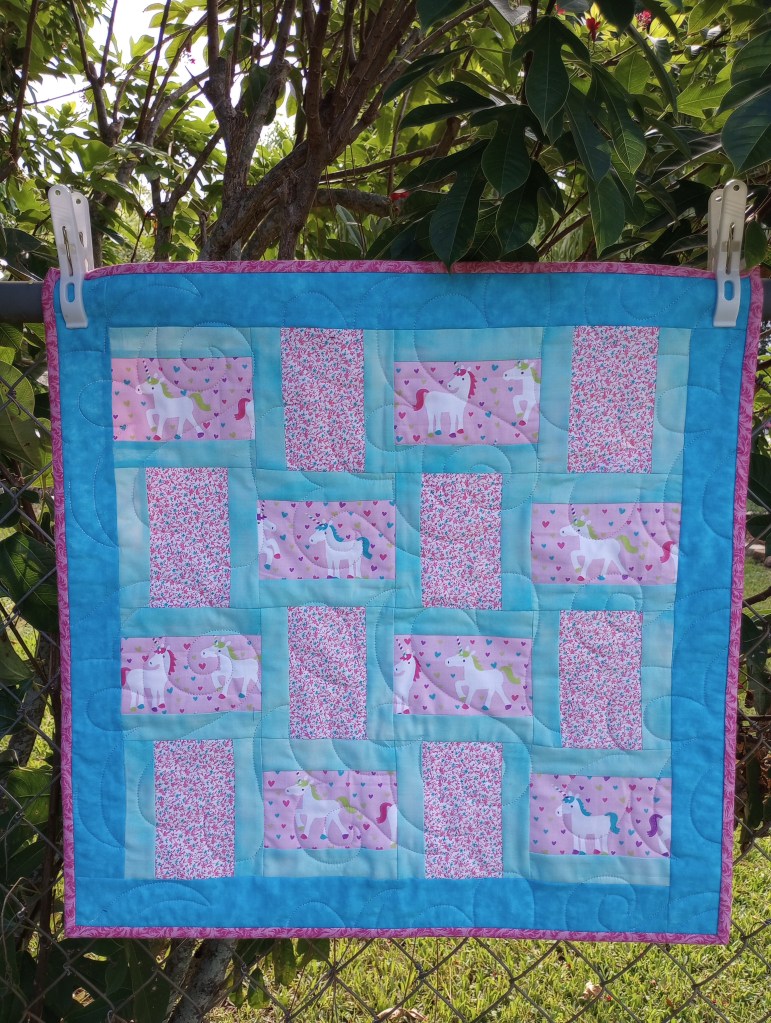
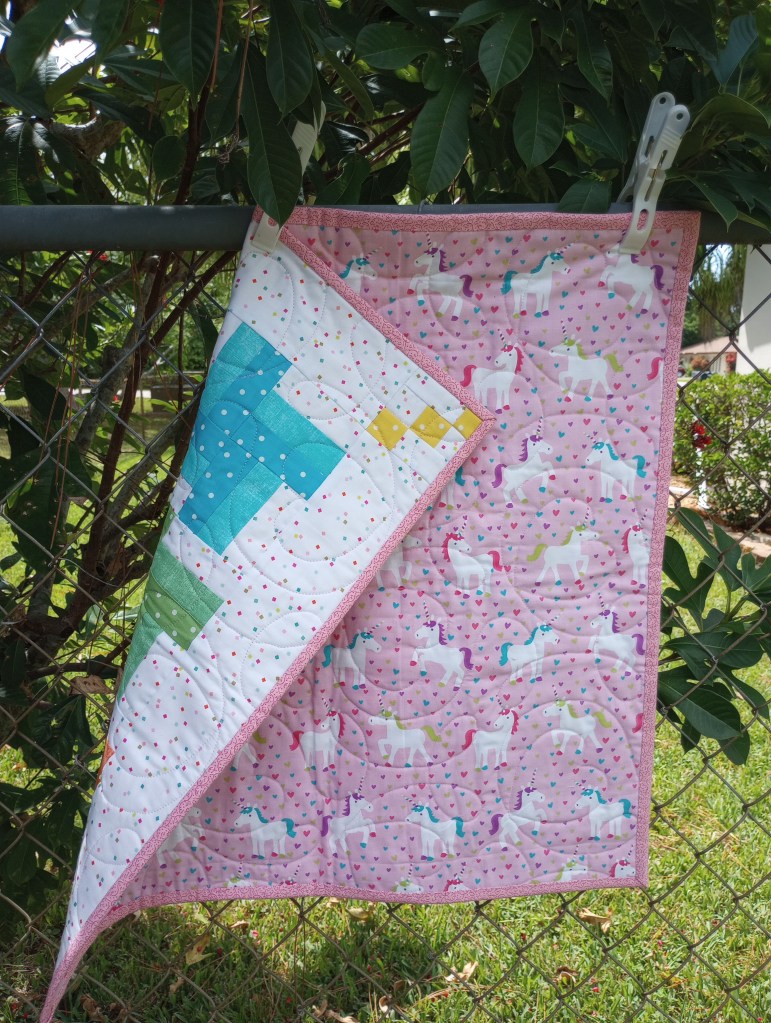
Please note: if you’re using a directional fabric, one of your two prints will be rotated 90 degrees. In this example, blocks made the unicorn fabric will remain horizontal but, the blocks made using pink calico will be rotated.

All strips listed below need to be at least 21″ long. The border is optional, omit it if you plan to use a half width of fabric for the backing.

Cutting Info:

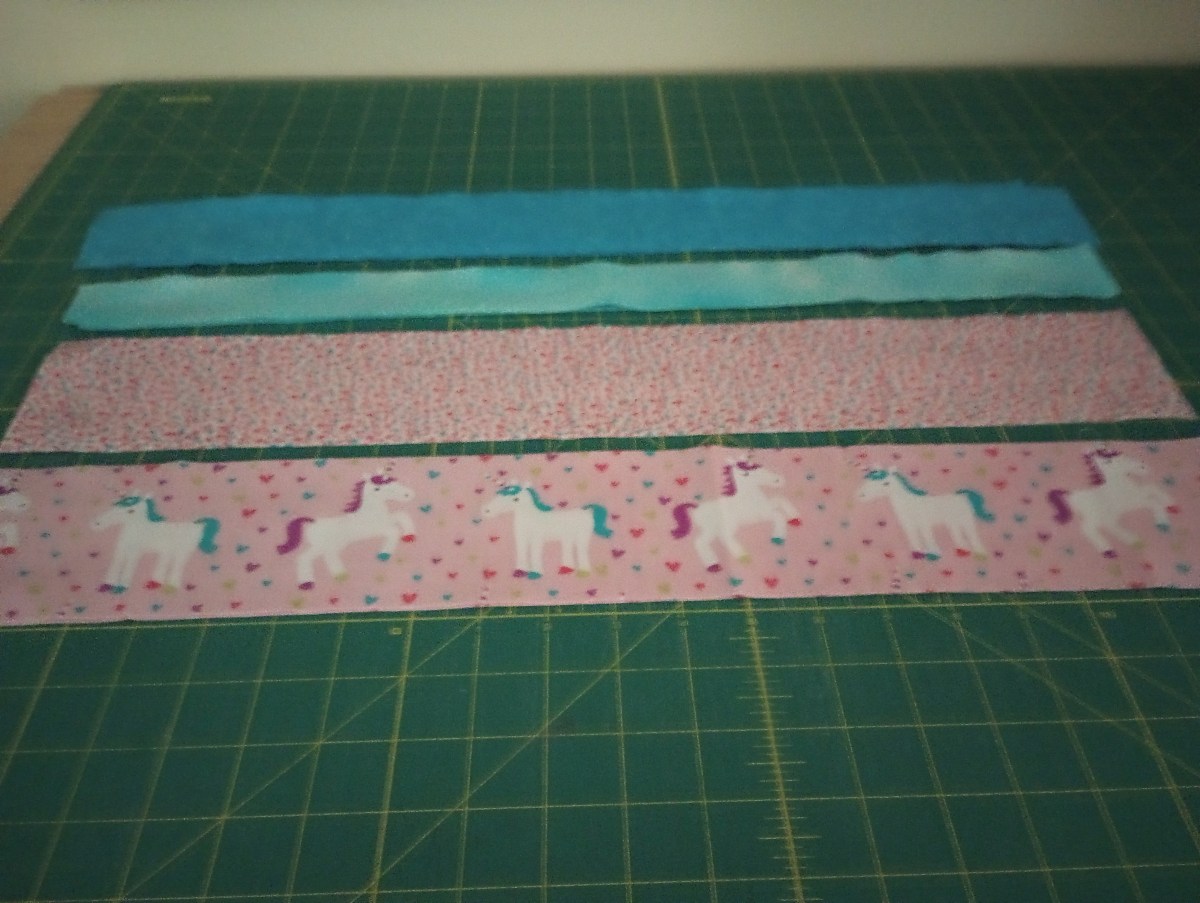
2 strips 3 1/4″ x 21″ focus fabric (unicorn)
2 strips 3 1/4″ x 21″ coordinating fabric (pink calico)
4 strips 1 1/2″ x 21″ framing fabric (light teal)

4 strips 2 1/2″ x 21″ optional border (dark teal)
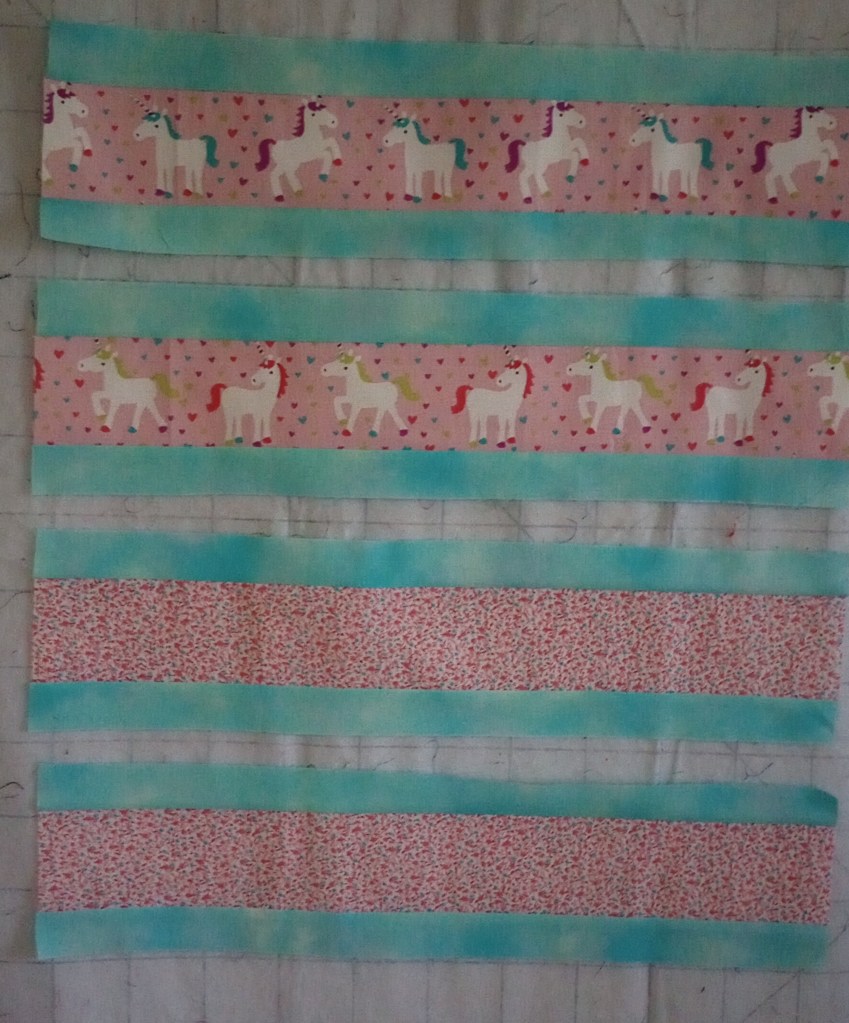
Begin by sewing the 1 1/2″ framing strips to each side of the 3 1/4″ strips.

It doesn’t matter which direction you choose to press the seams. I pressed everything to the framing pieces (the light teal in the example) so the seams nest later when the rows were sewn together.
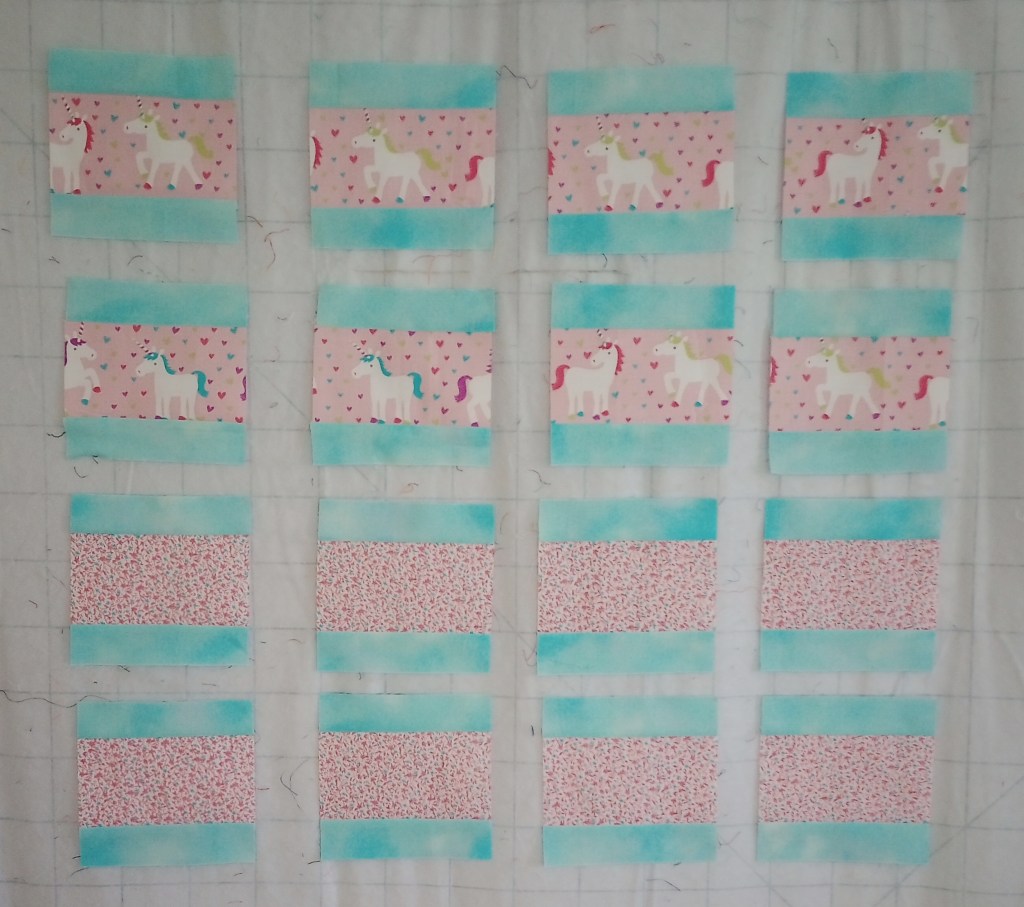
Cross cut each strip set into 4 pieces 5 1/4″ long.  There will be 8 squares from the focus print and 8 squares from the coordinating print.

Depending on your quarter seam accuracy, the units should measure 5 1/4″ square.
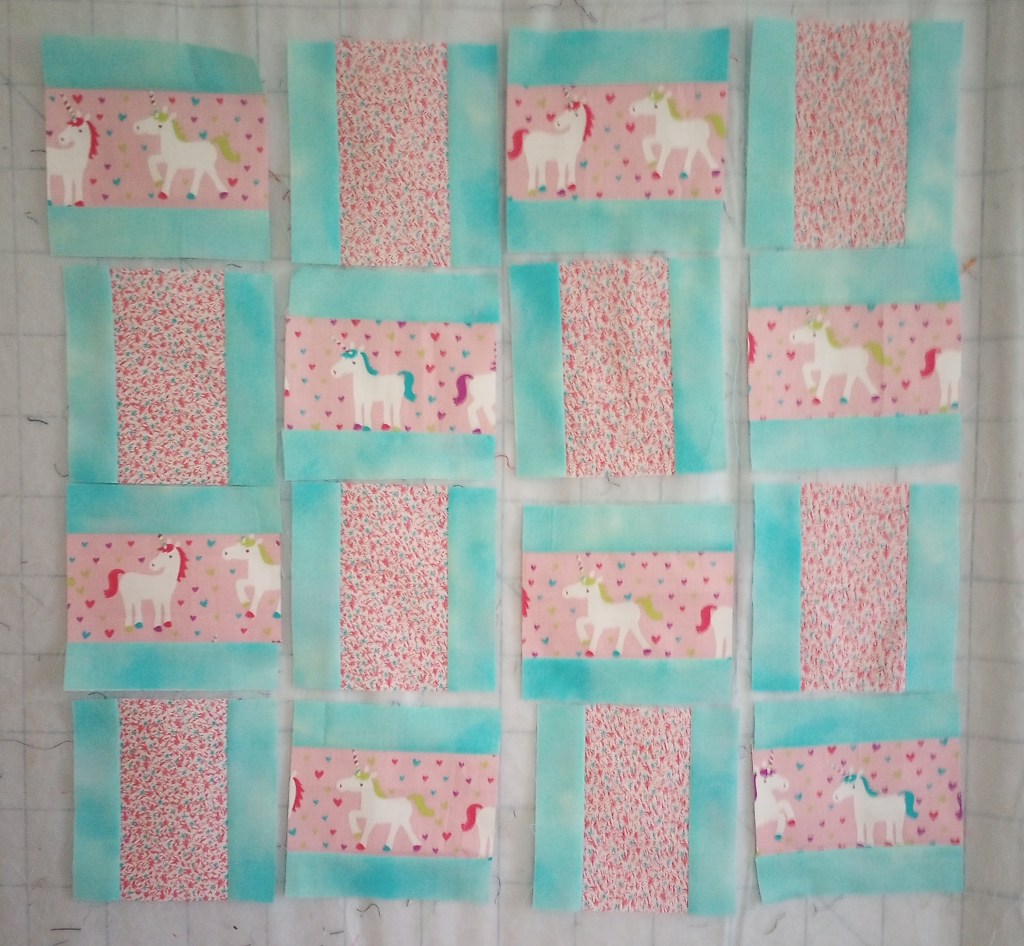
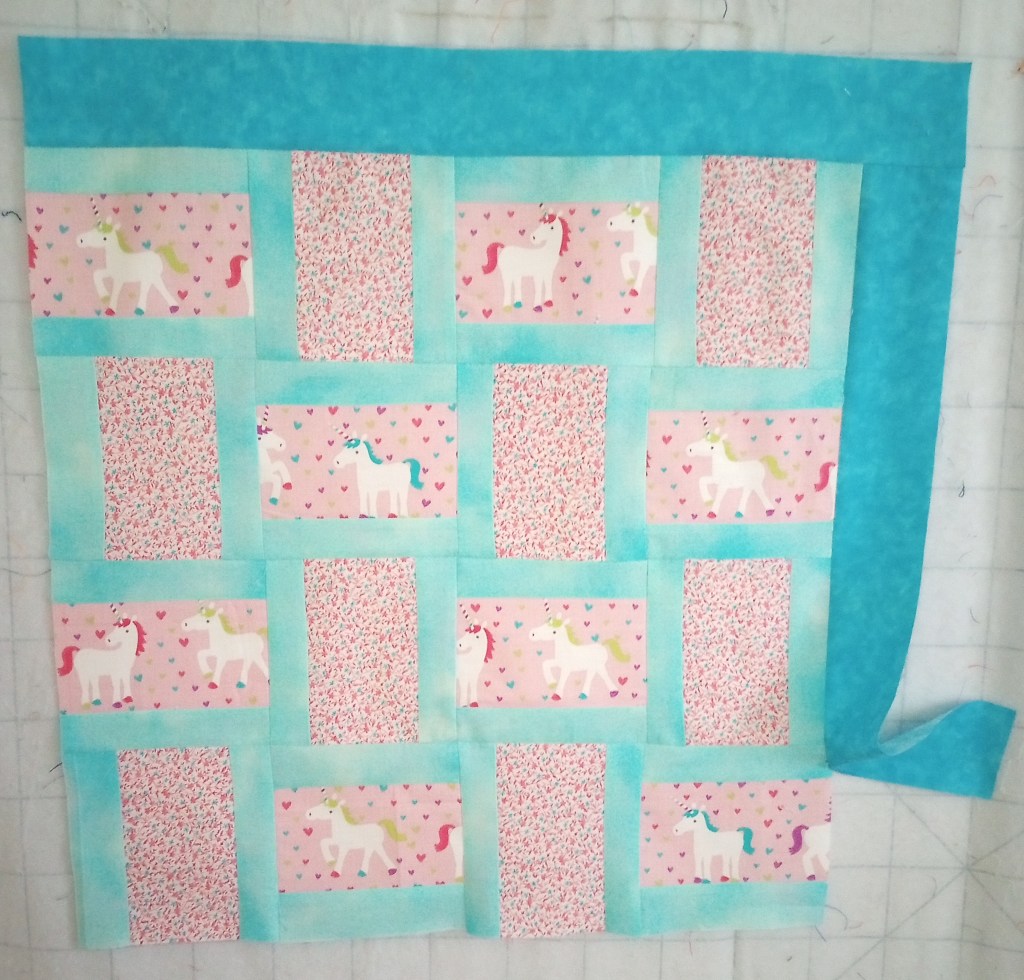
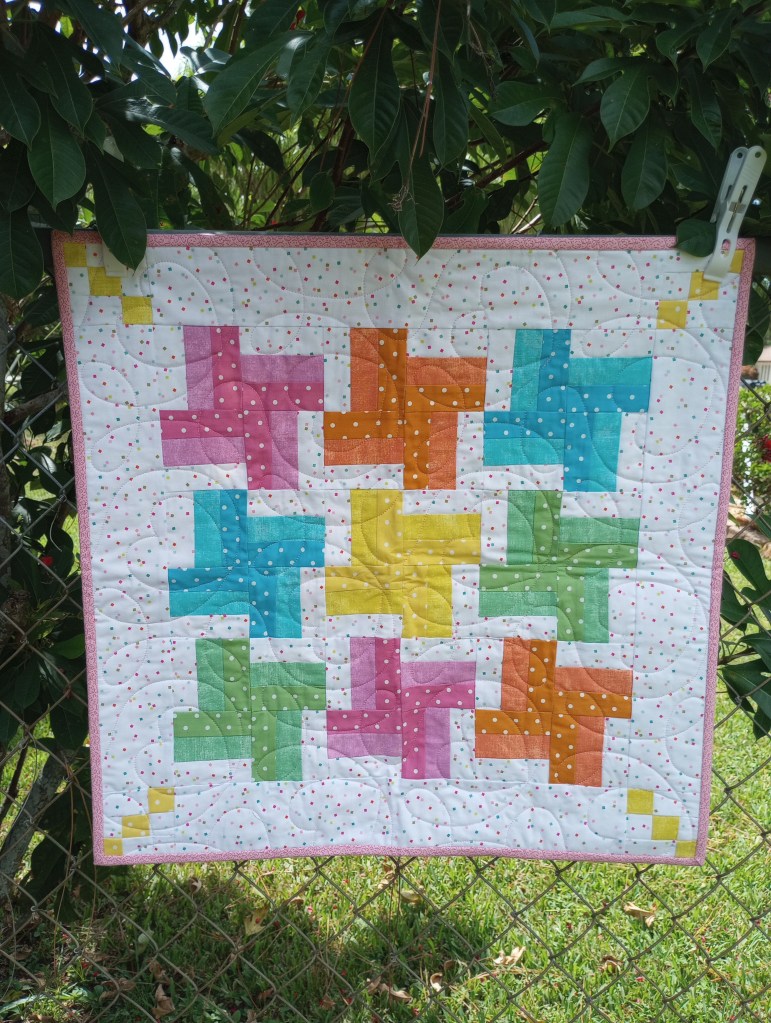
Arrange the blocks as shown, 4 blocks across and 4 blocks down. Notice that all of the blocks with the calico print were rotated  so they’re now vertical.  All of the blocks with the unicorn print remained horizontal. 
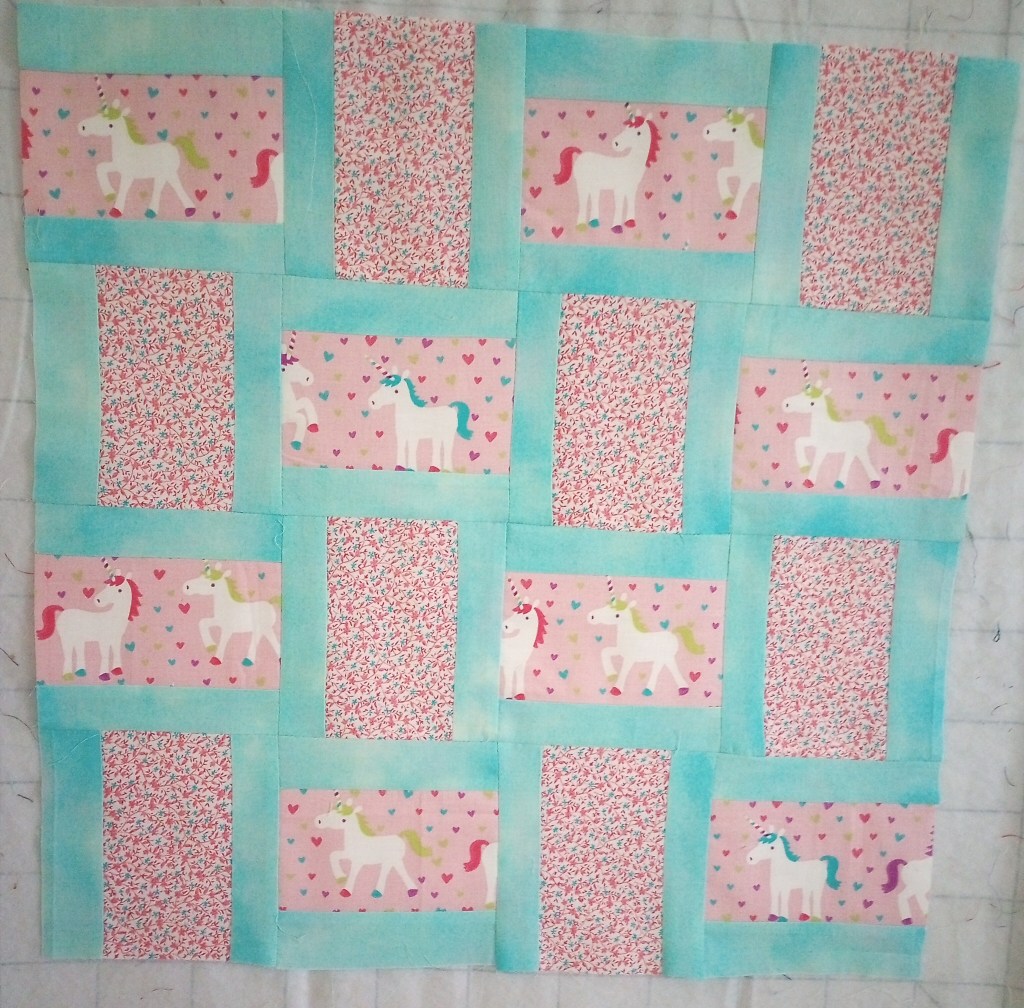
Sew the blocks into rows and then join the rows.  The top measures 19 1/2″ square at this point.

If you wish to conserve backing fabric, stop here. You can cut it on the fold for a half width, saving the other half for the next little quilt.
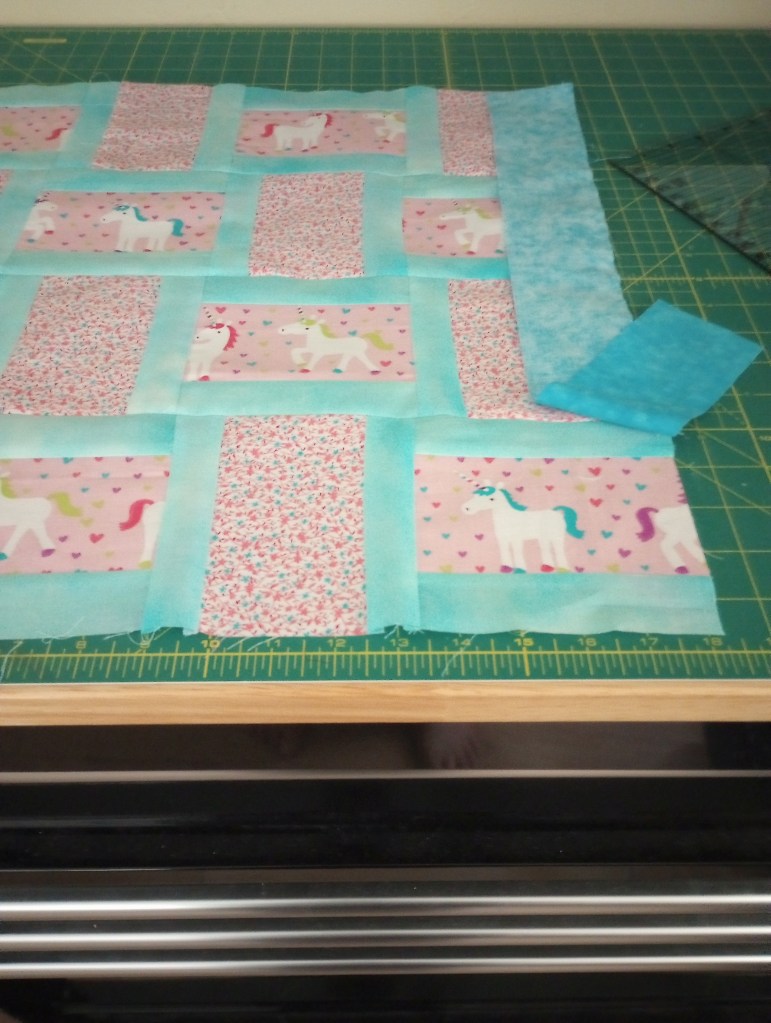

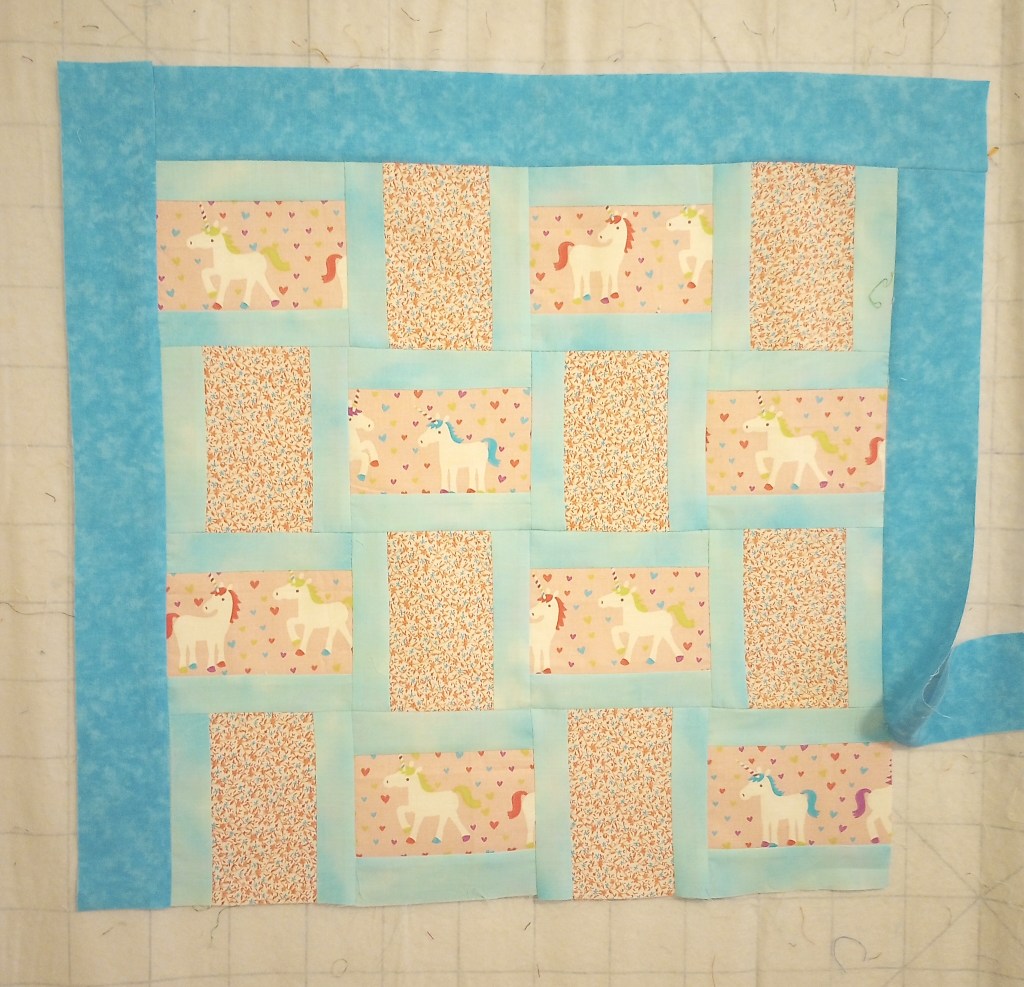
To continue with the optional border, begin by sewing the first 2 1/2″ wide strip to the right side of the quilt top.

Stop sewing a few inches from the end.   (The remaining length will be longer than the quilt top. Don’t trim it off!)

This partial seam will be completed after all the border strips have been attached.  This first border strip is the only one sewn with a  partial seam. The other three borders will be  sewn all the way to the end.
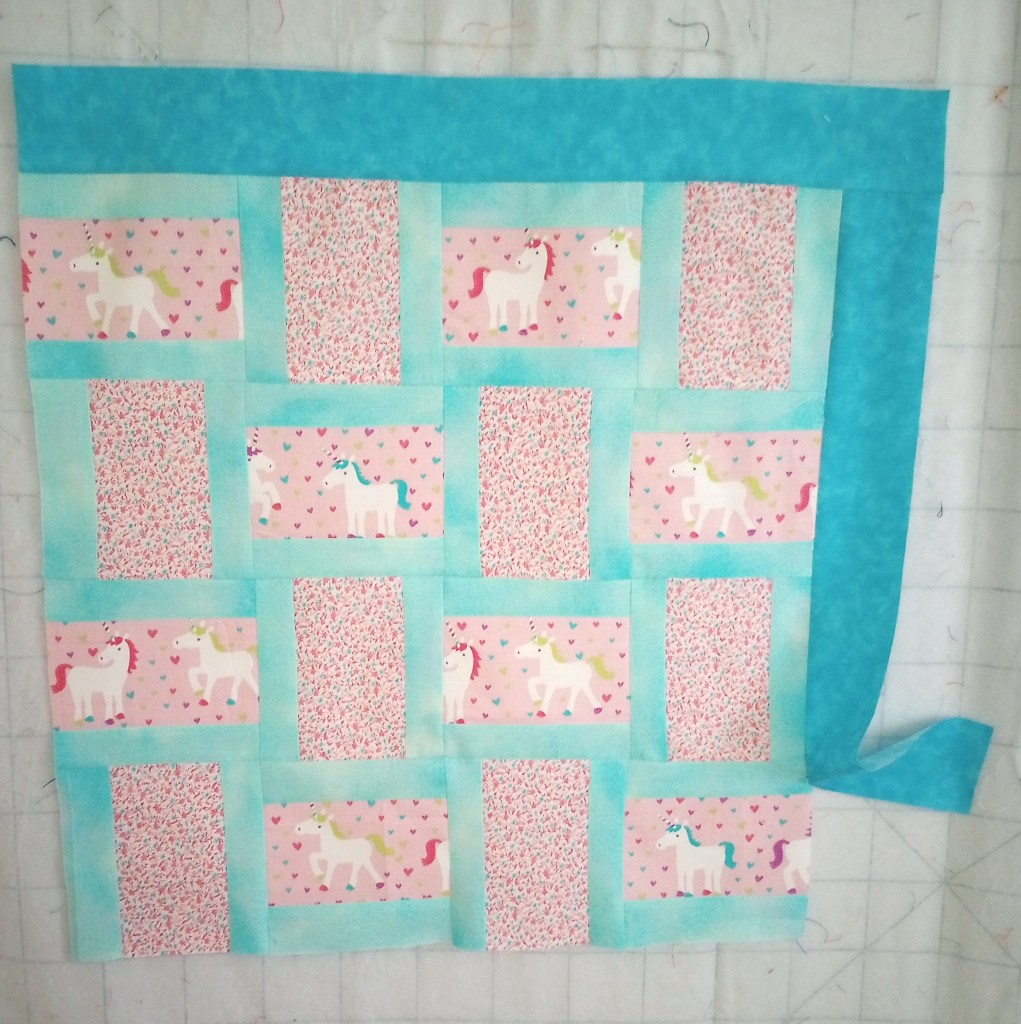
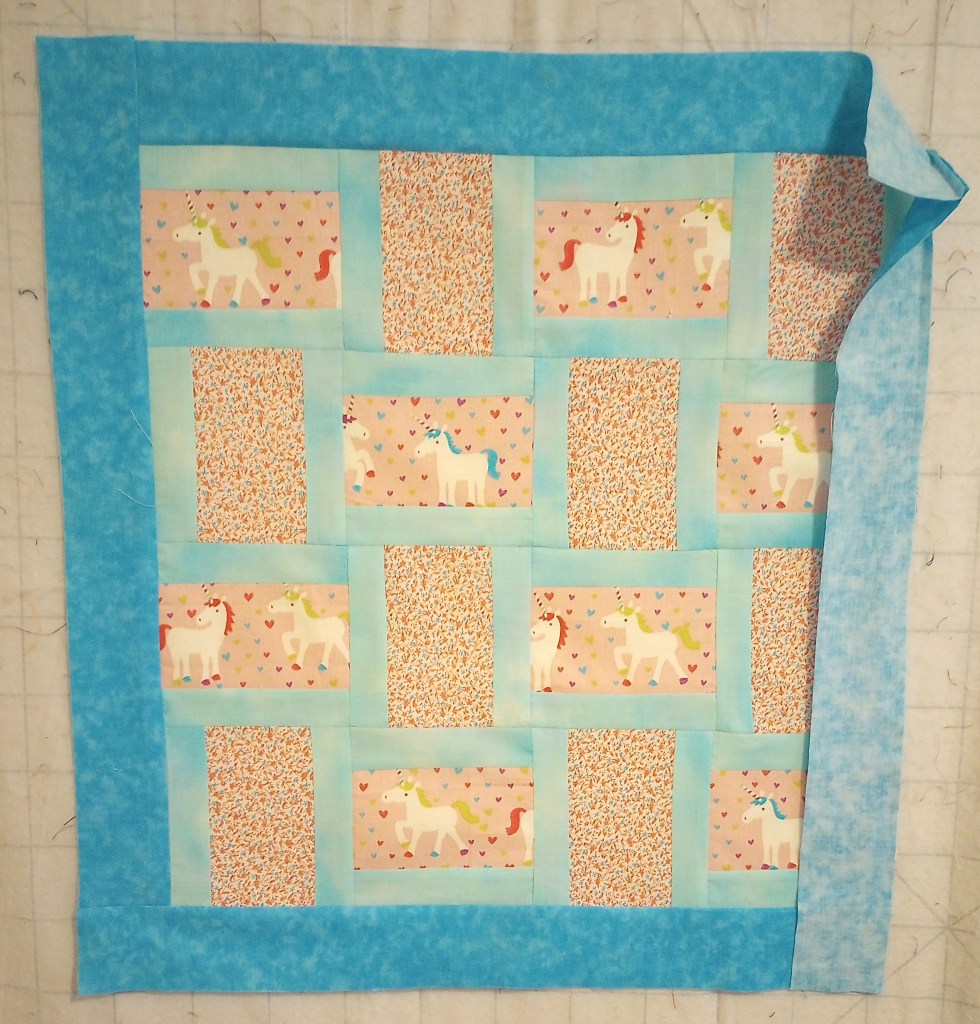
Press the seam open and add the remaining border strips in the order listed below,  pressing each seam open as you go.

  • Top border – Figure 1
  • Left side border – Figure 2
  • Bottom border – make sure that tail end from the partial seam right border is out of the way. – My apologies for neglecting to take a photo for Figure 3
  • Lay the partial seam tail end of the  right border fabric in place and finish sewing the partial seam all the way to the bottom. (Stitching across the previous bottom border strip.) – Figure 4
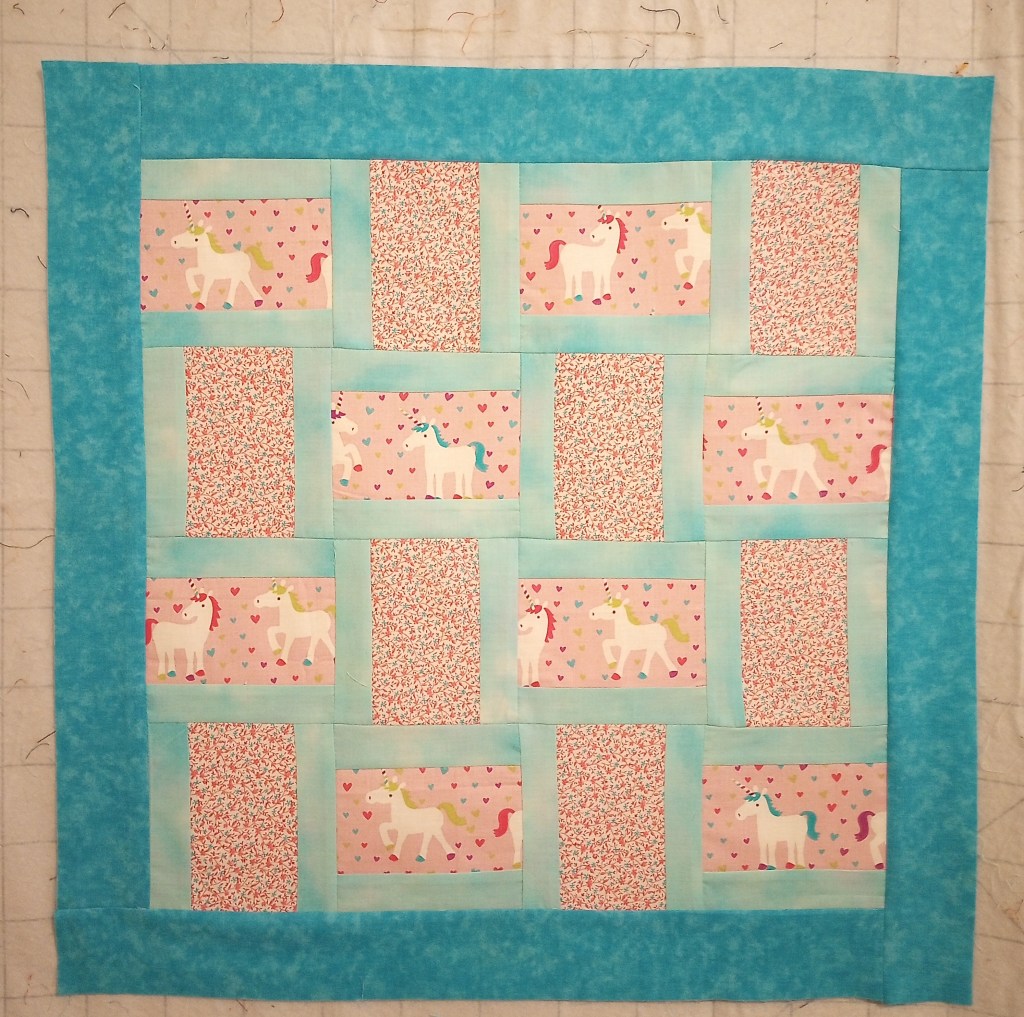
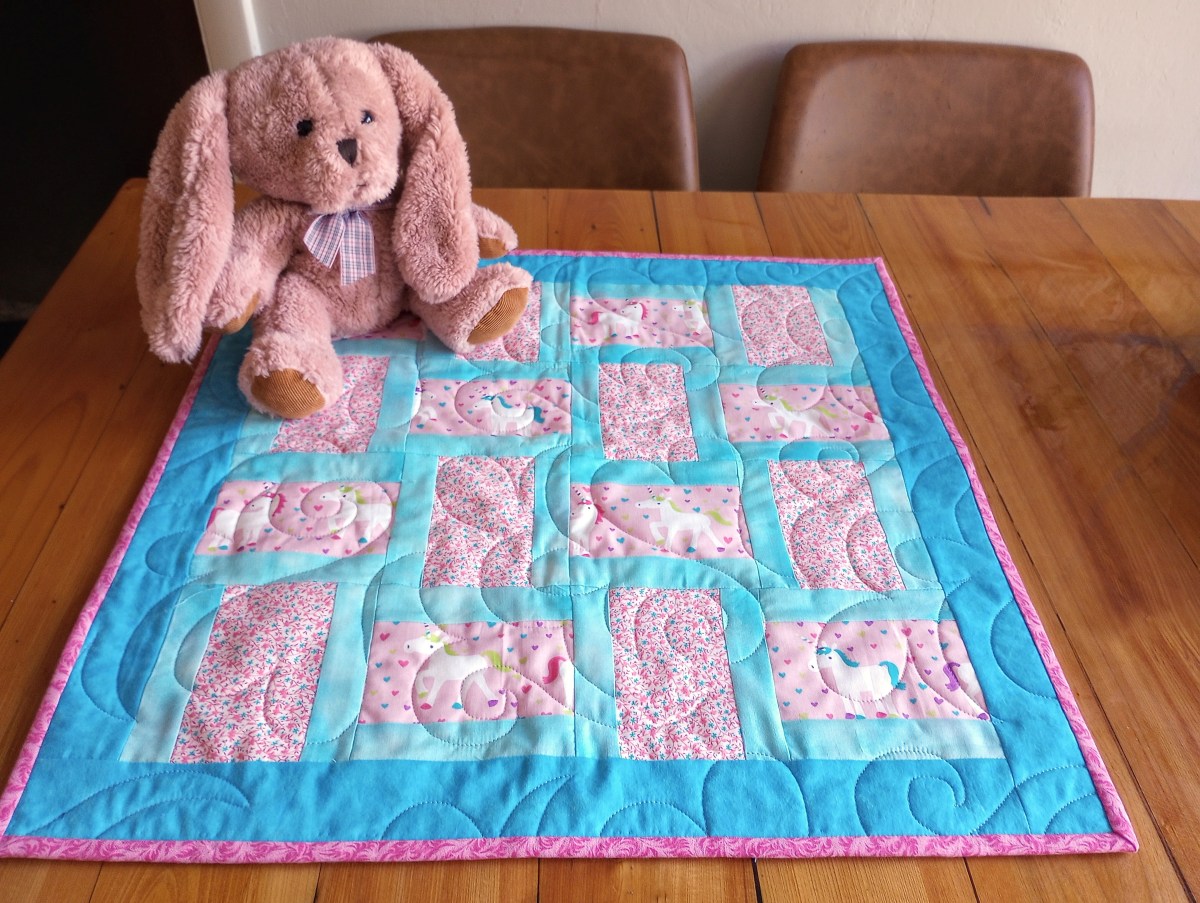
Your little top is complete and should now measure 23 1/2″. ♥

Consider experimenting by using all the same print for the 3 1/4″ wide strips (rather than two different ones), or by using two different sets of the 1 1/2″ framing strips (one set for the horizonal blocks and one set for the vertical blocks) to highlight the woven look.  I plan to try this option next time!

This is always a fun design to make and I hope you enjoy making it as much as I did!

Little quilts aka Huggables

I love making these little quilts! I’m glad I finally started, even though it took me a while. Mary has been making them for years, and you can find many ideas on her blog at this link. If you scroll to the bottom, she shows how to bundle them for donation.

I’m calling them “Huggables”. Our quilt guild is joining me in making them to donate to the sheriff dept, fire rescue, and the state’s Division of Children & Family services. The guild also has other small quilt projects, like the yearly challenge and themed quilts for events. Giving this project a name, rather than calling it “little quilts” ensures the quilts paired with stuffed dolls and animals won’t be confused with any of our other little quilts.

This little quilt is loosely based on the 3 Yard Quilt pattern by the Fabric Cafe called Brick Street. The original pattern finishes at 49″ x 59″ and has been a favorite of mine for several years.
My revised version finishes at only 23″ square.

I sliced off a quirky 3 1/4″ strip from the cute unicorn print and from the pink calico. After making strip sets with 1/2″ teal pieces, I cross-cut the sets into 5 1/4″ blocks because, let’s be real, who doesn’t love a good challenge with odd dimensions? I managed to squeeze out 8 blocks from a single 42″ strip set of each print (and yes, it also works with fat quarters if you cut two strips each ).

At first, the idea was to cut 3 1/2″ strips and then 5 1/2″ blocks, but alas, that plan would only yield 7 blocks from each strip set! Not the 8 I was dreaming of… since most of my ideas initially start while I’m sleeping. It’s pretty disappointing to wake up and find, that after all the work in my sleep, the quilt hasn’t even been started much less finished! 😦
Sure, I had enough fabric for a second strip set, but I didn’t really like the idea of tossing the left over strip sets into the scrap bin. I decided to channel my inner mathematician for a quick re-calculation.

If ya wanna be a quilter – you better love math! 😊

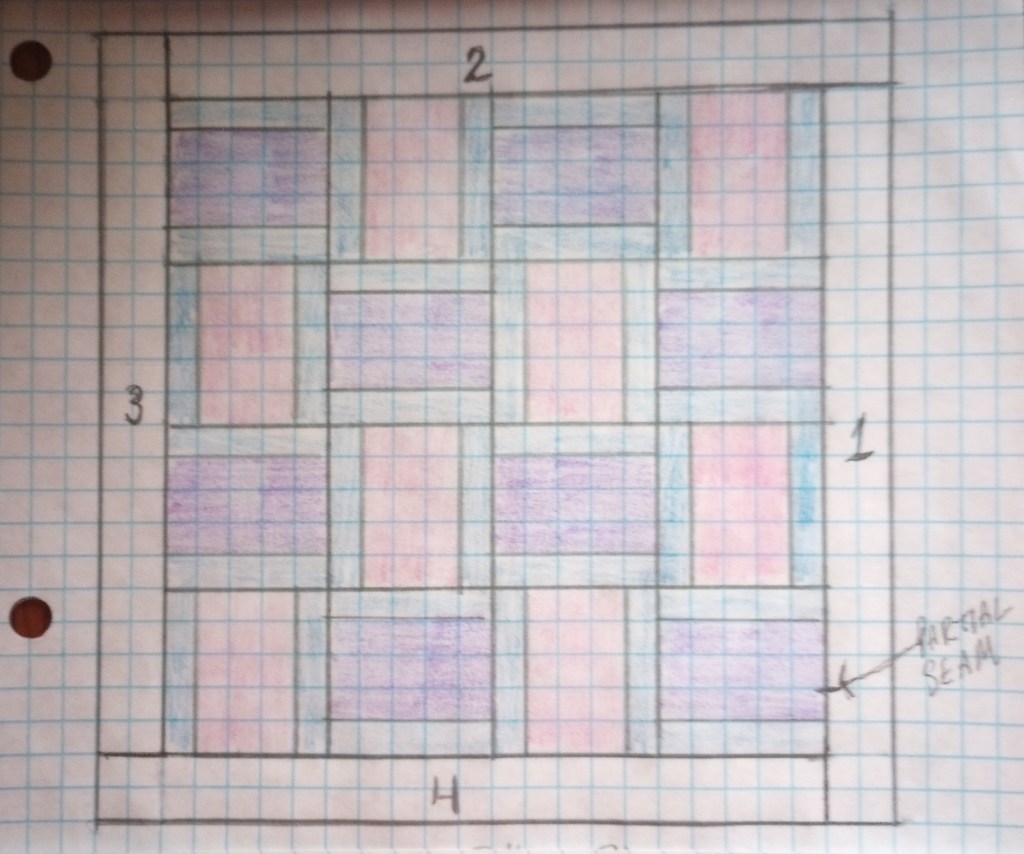
This is my rough diagram. If you notice, the borders were added counter-clockwise rather than sides and top/bottom pairs:

  • Right side
  • Top
  • Left side
  • Bottom

The first seam is a partial seam. Once you add the last border (on the bottom) you go back and complete that first seam on the right side border.

It also allowed me to maximize the 2 1/2″ strips for the border since all four borders were cut from only two strips of fabric. (Luckily, the border fabric was 43″ wide.)

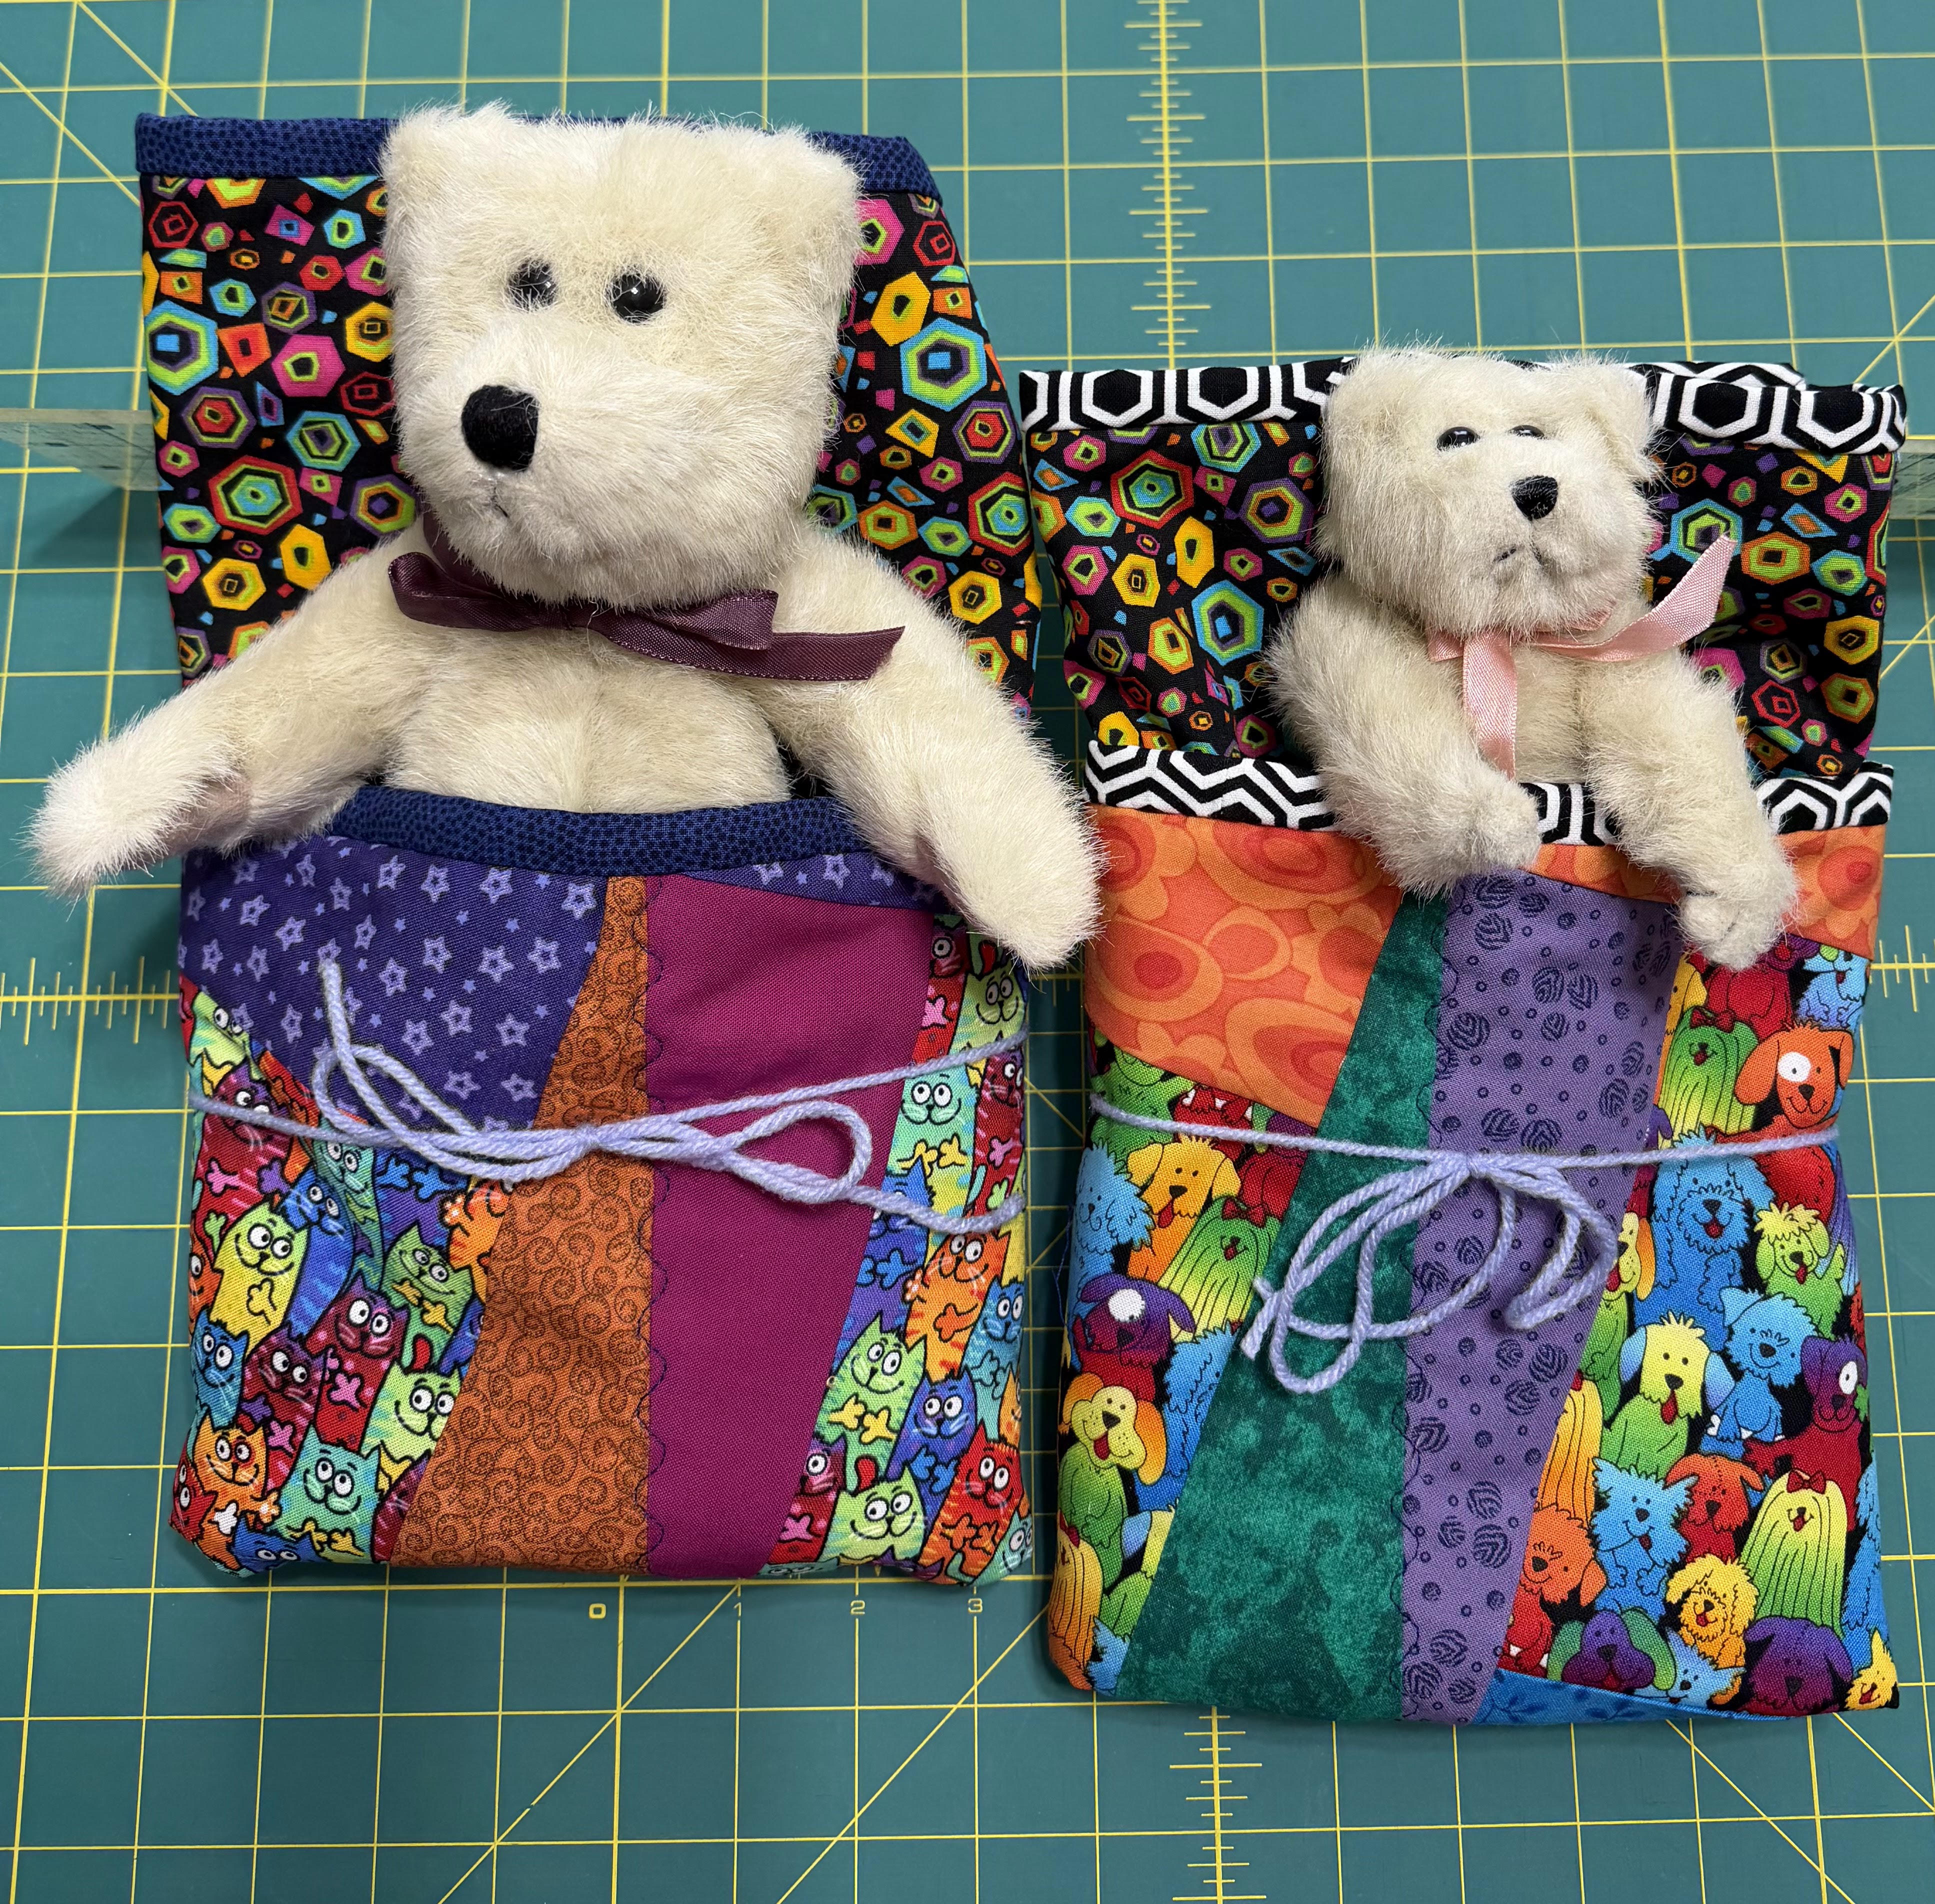
Huggables

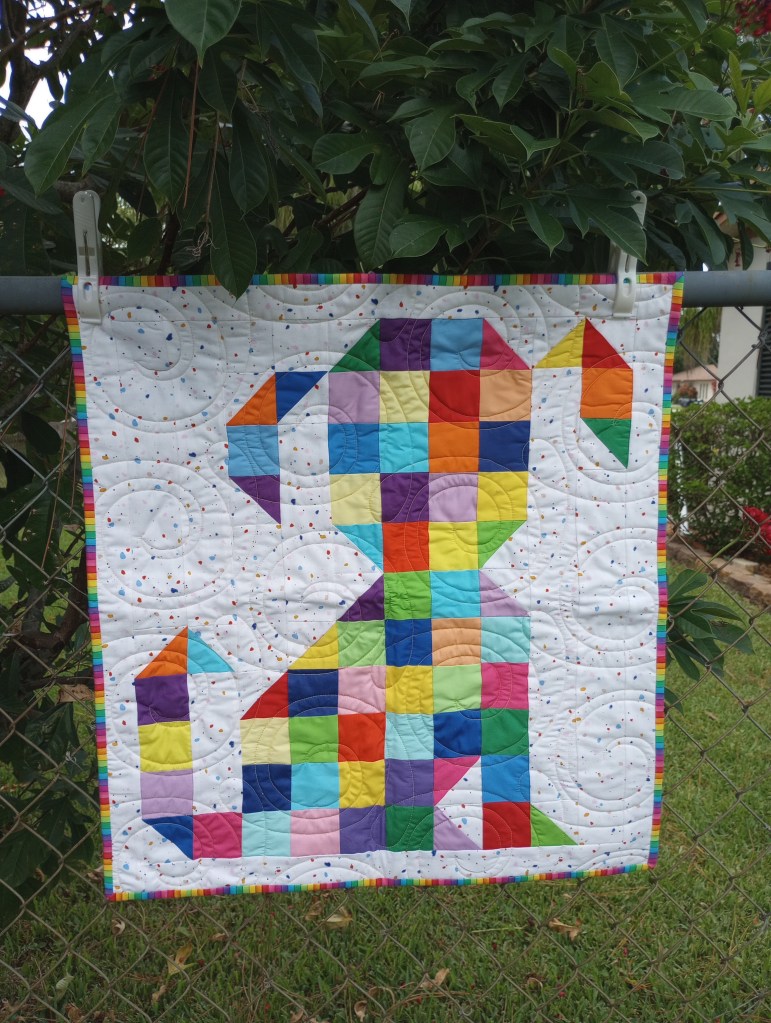
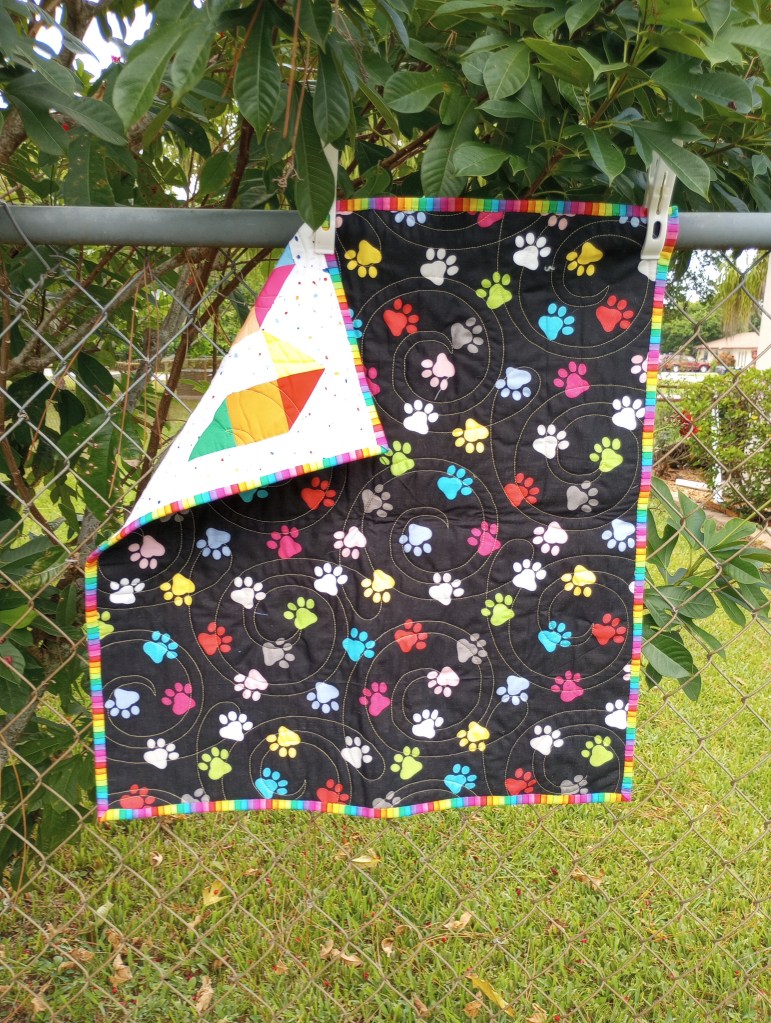
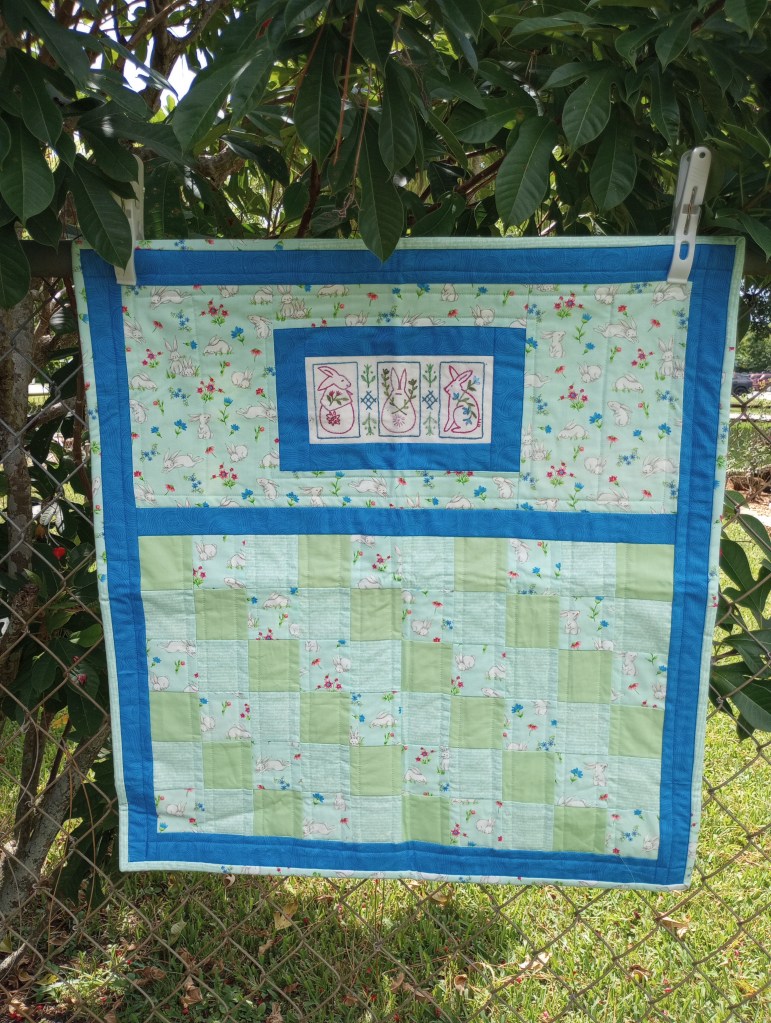
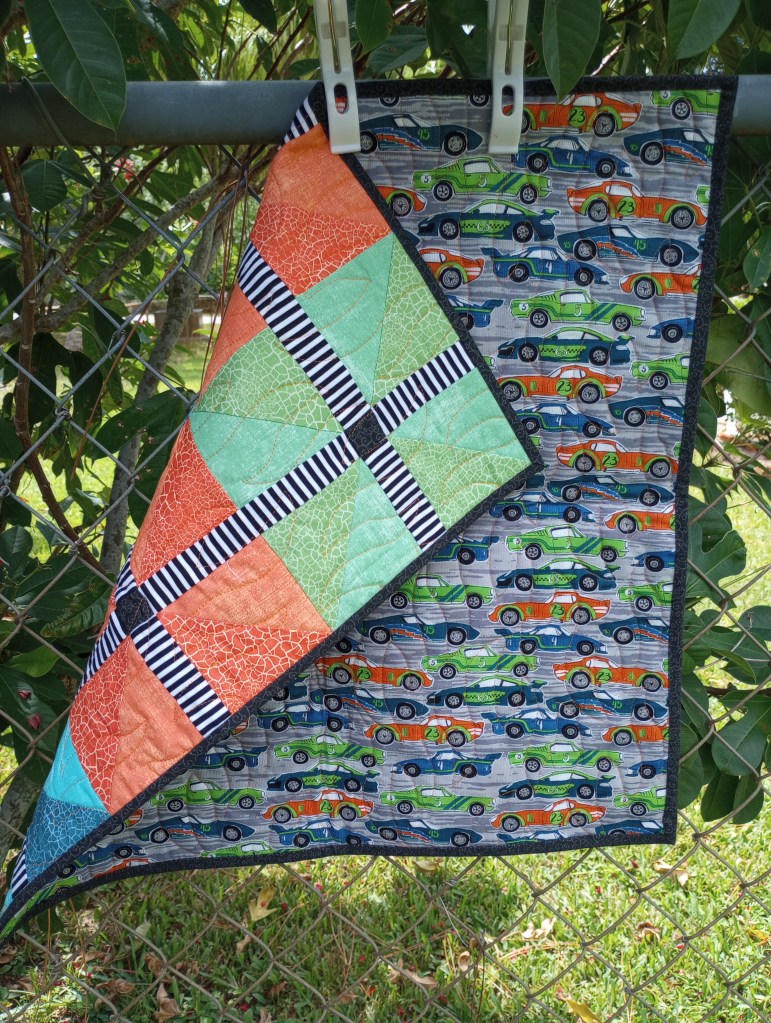
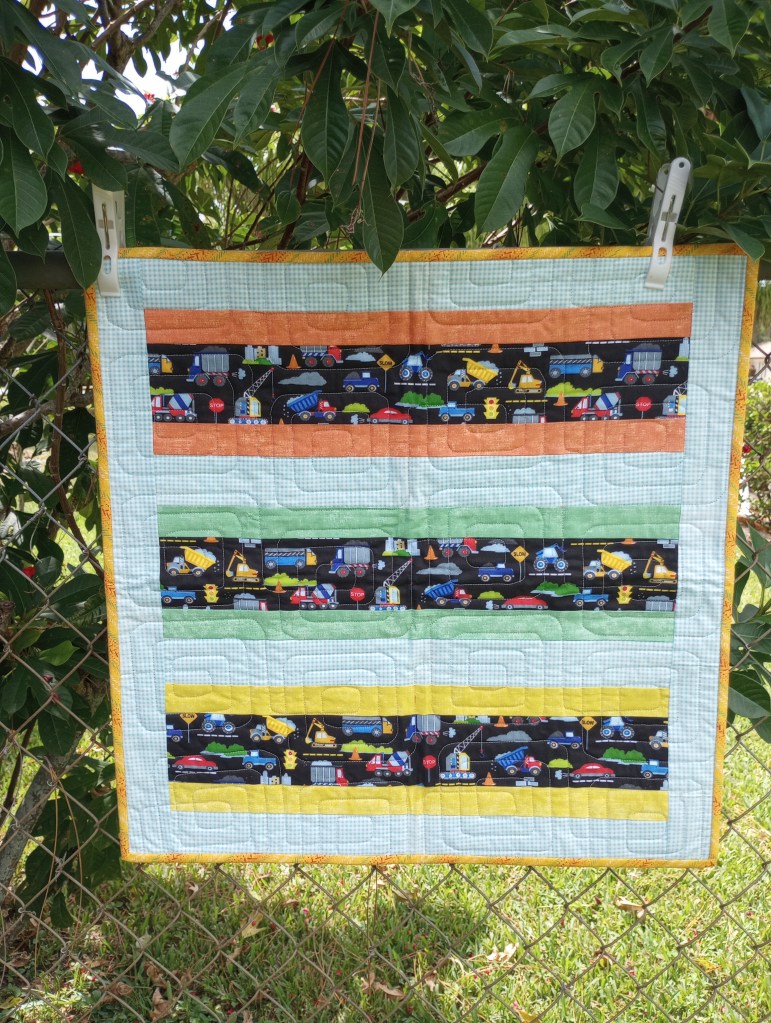
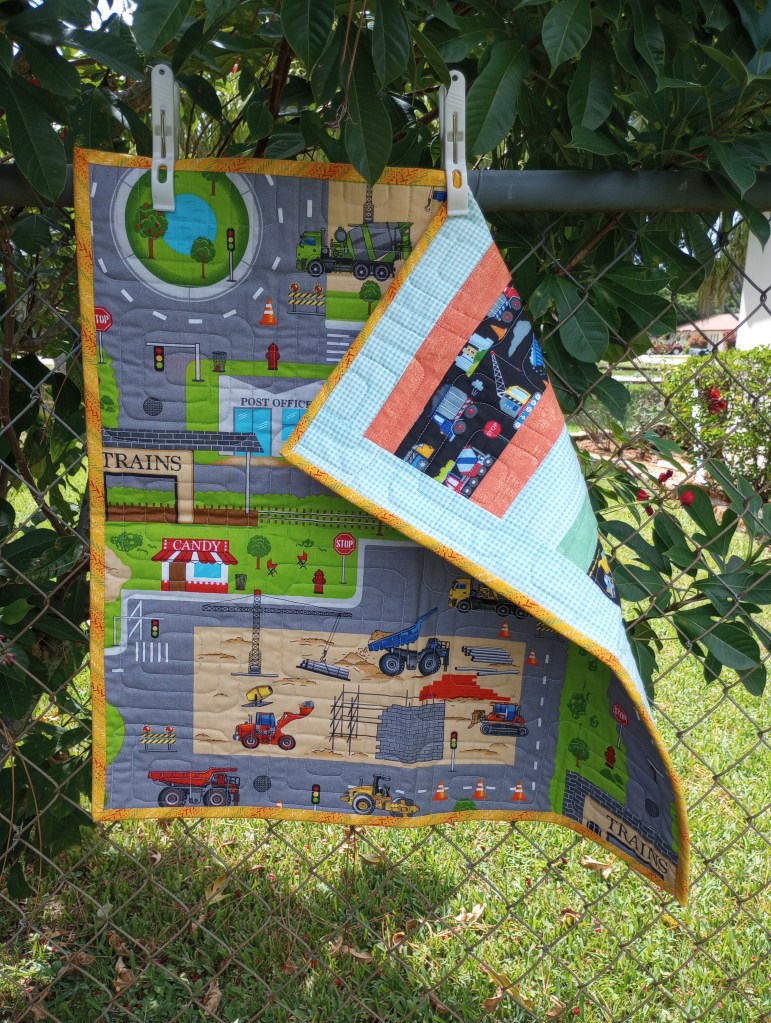
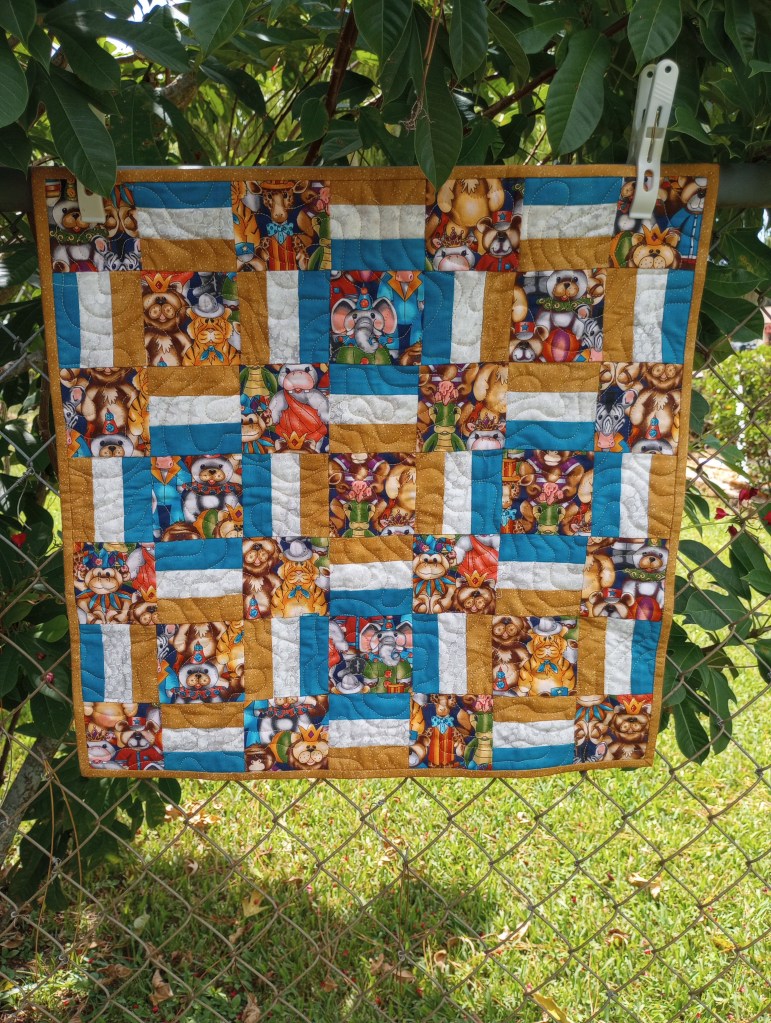
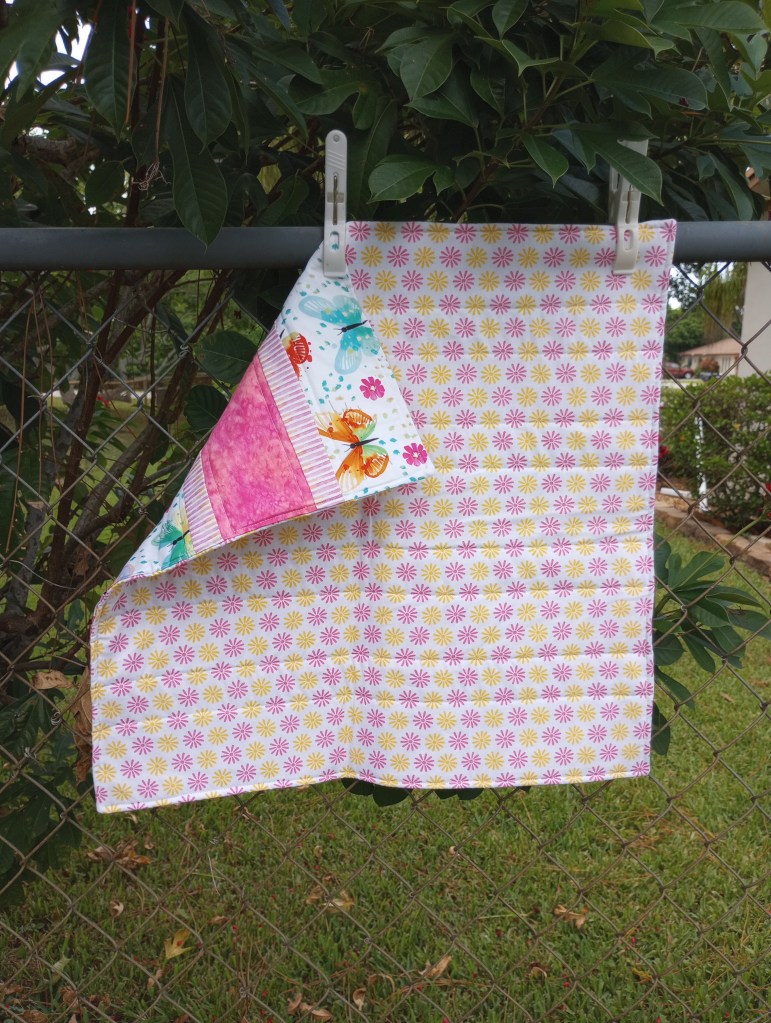
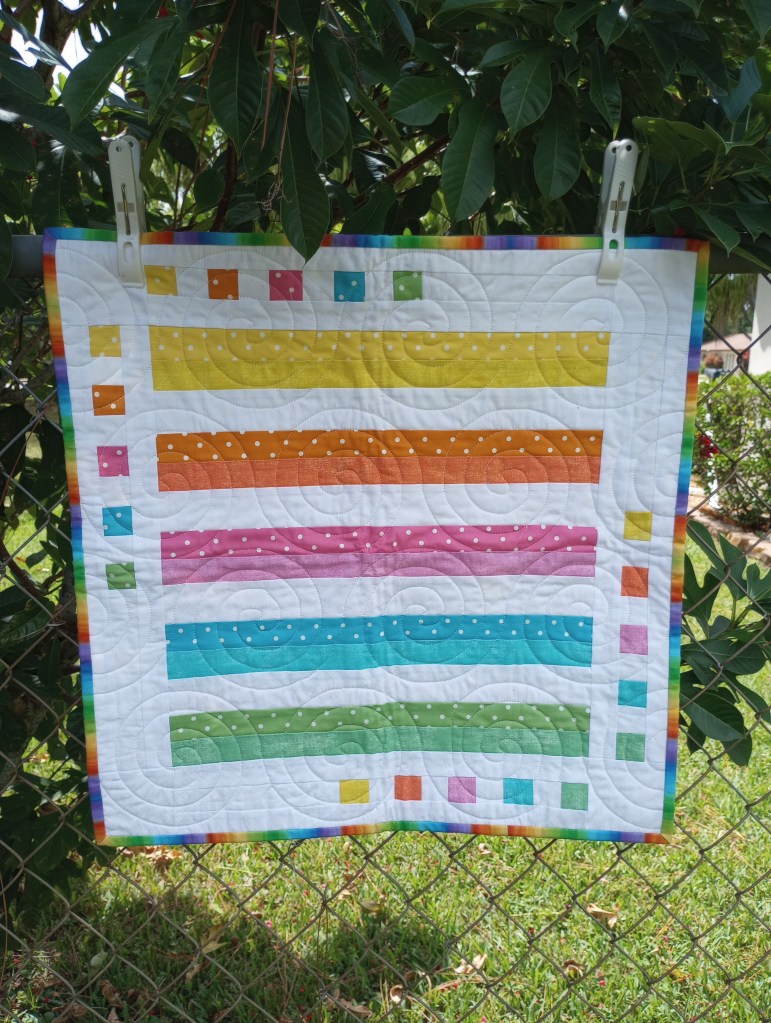
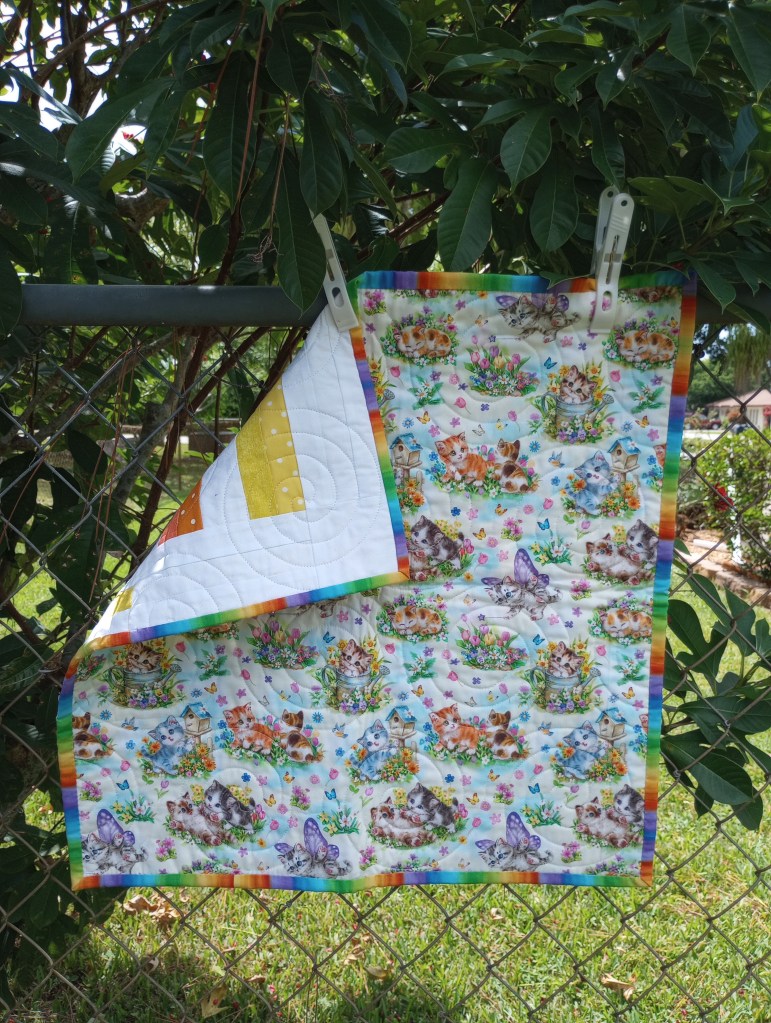
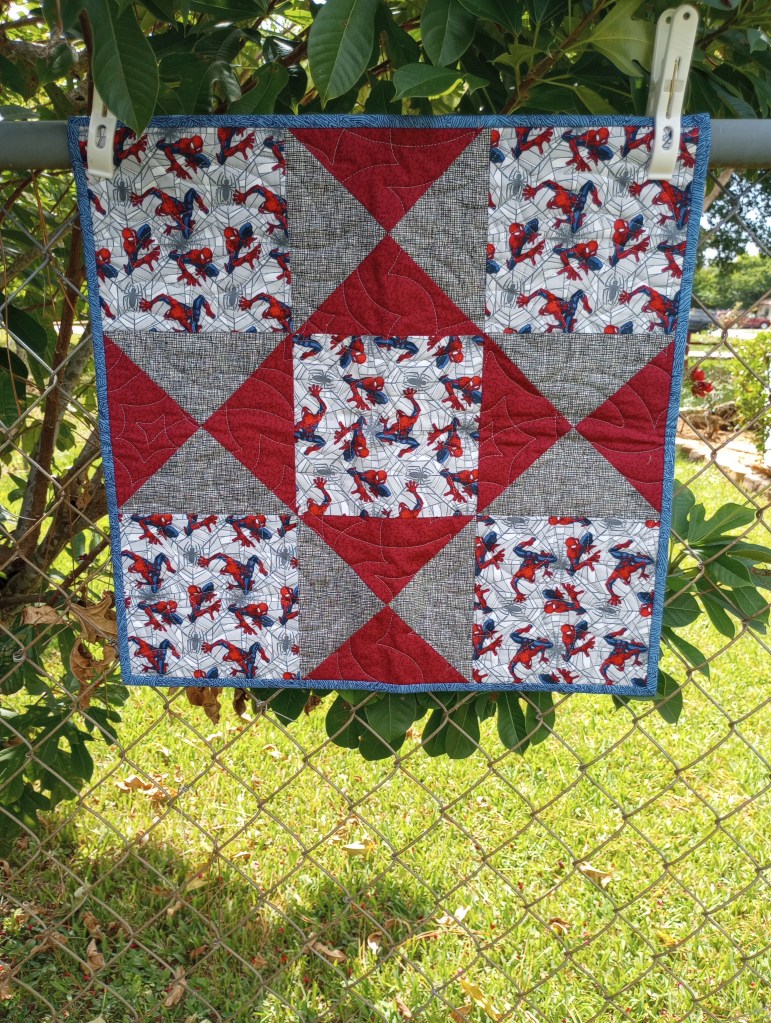
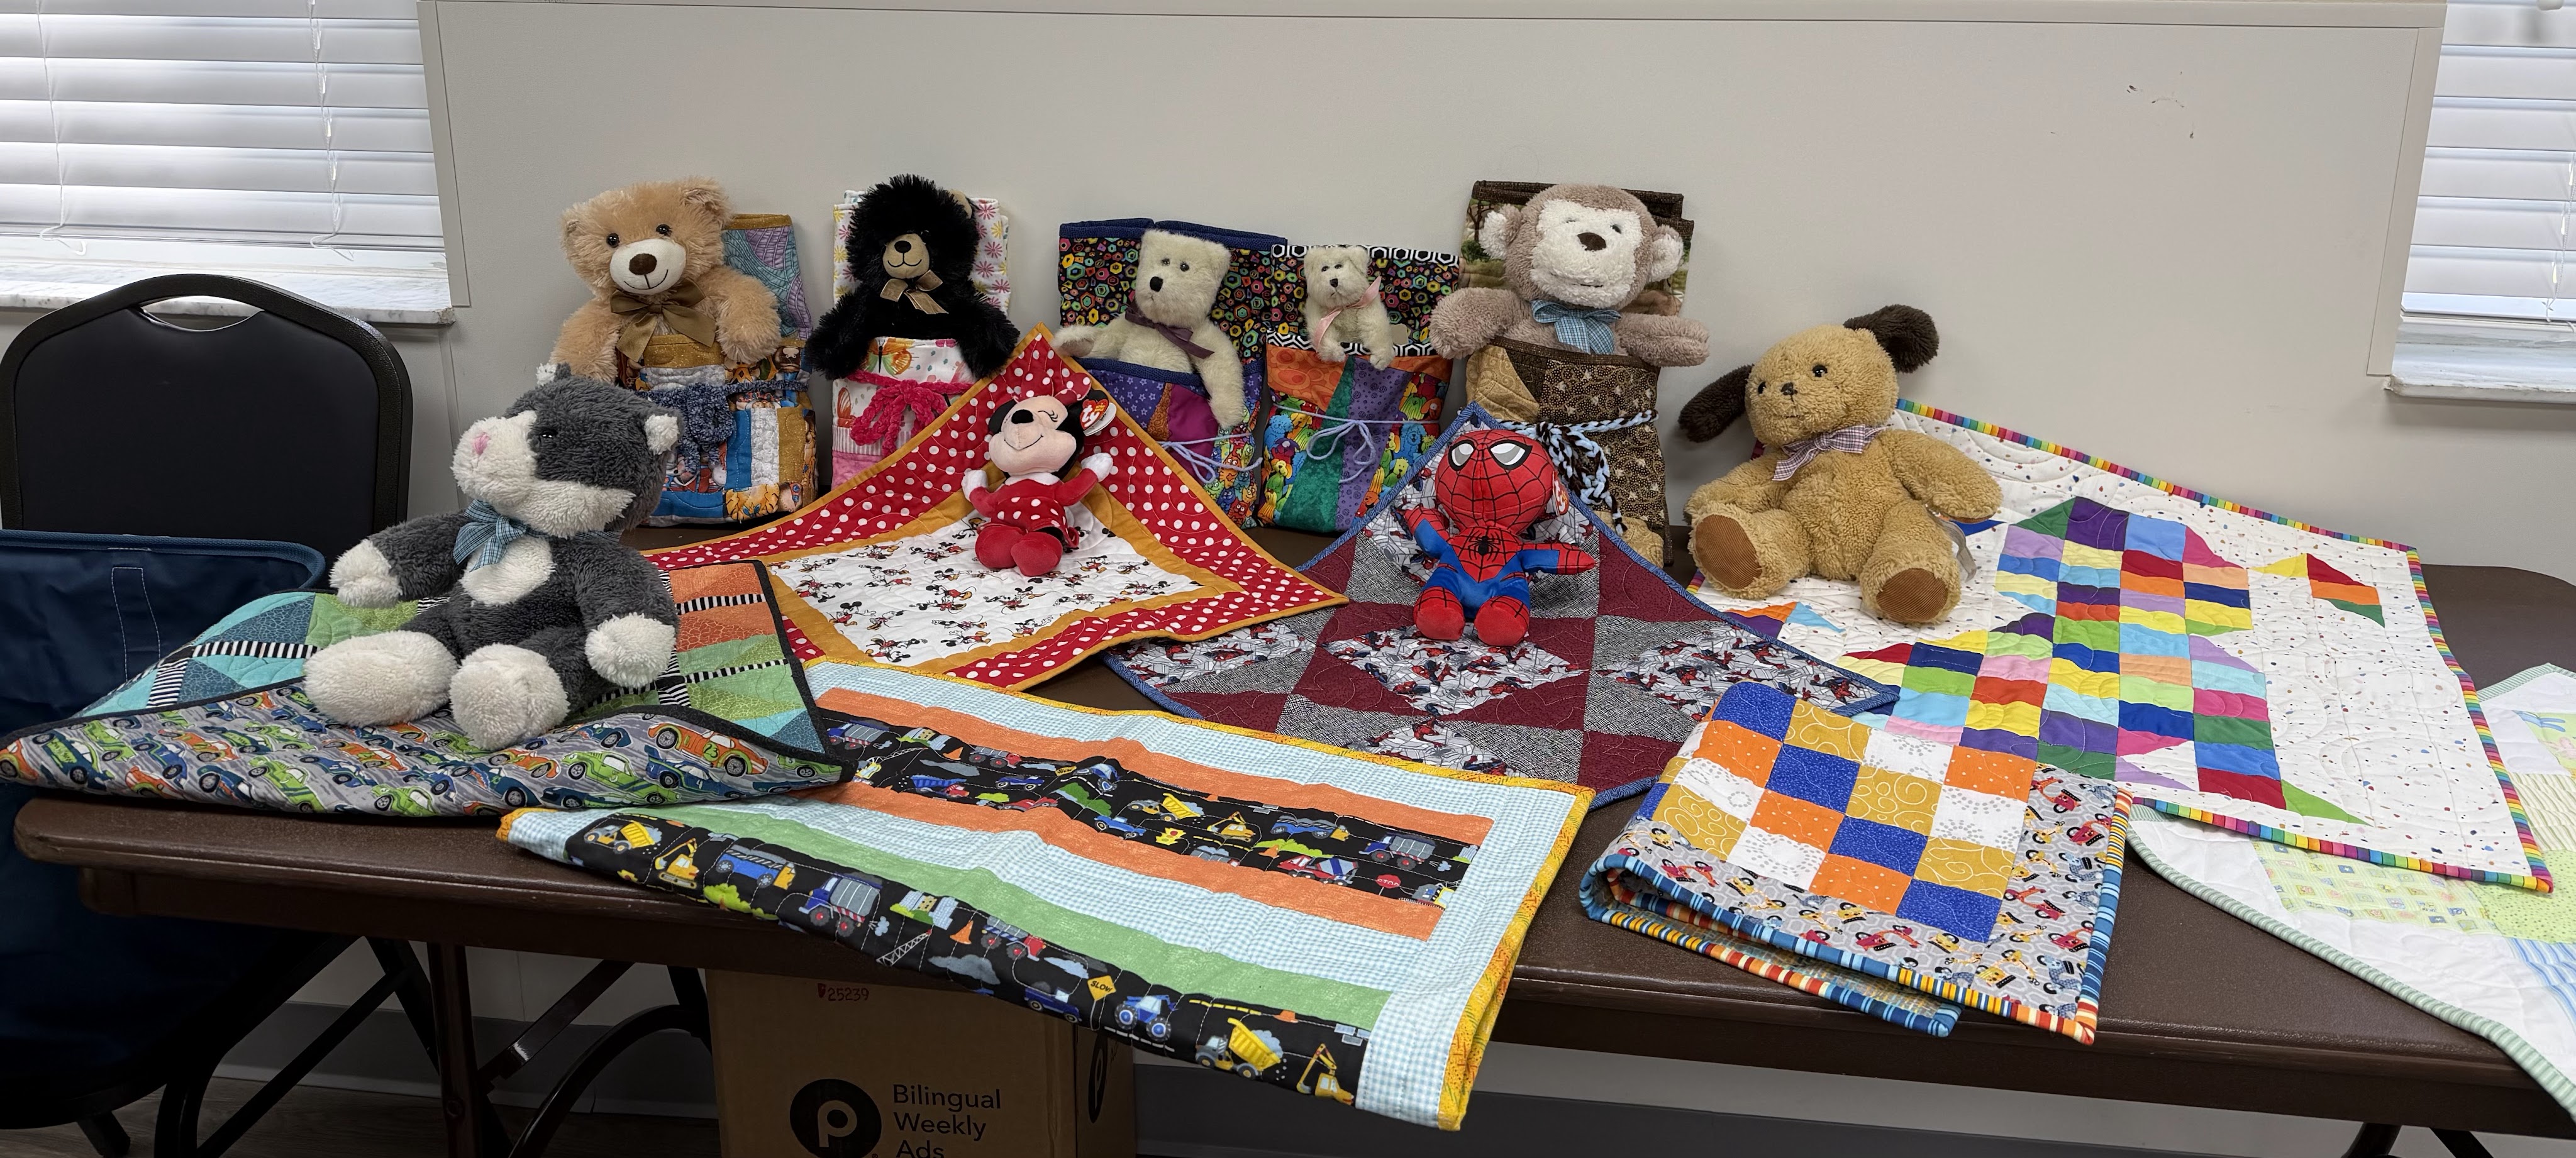
Let me show you some delightful little quilts that might just make you smile and warm your heart. Crafted to accompany adorable stuffed animals and destined to bring comfort and joy as they are donated to first responders to distribute when they’re most needed.

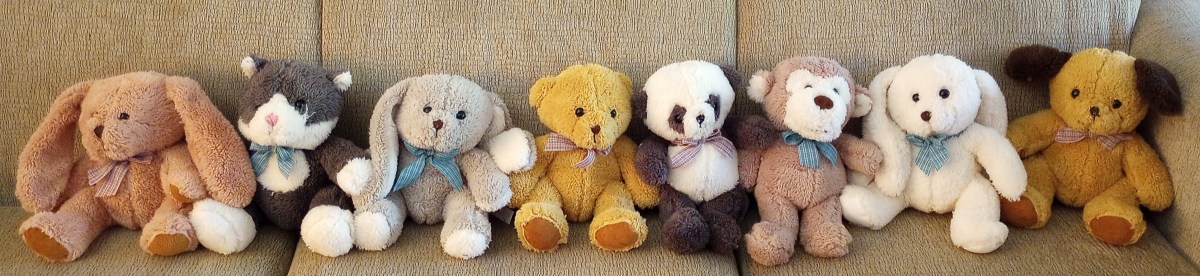
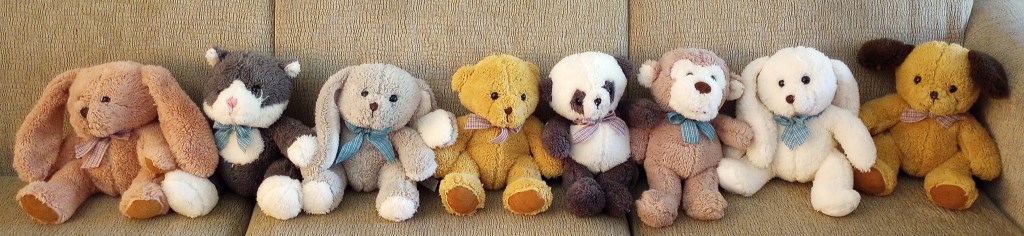
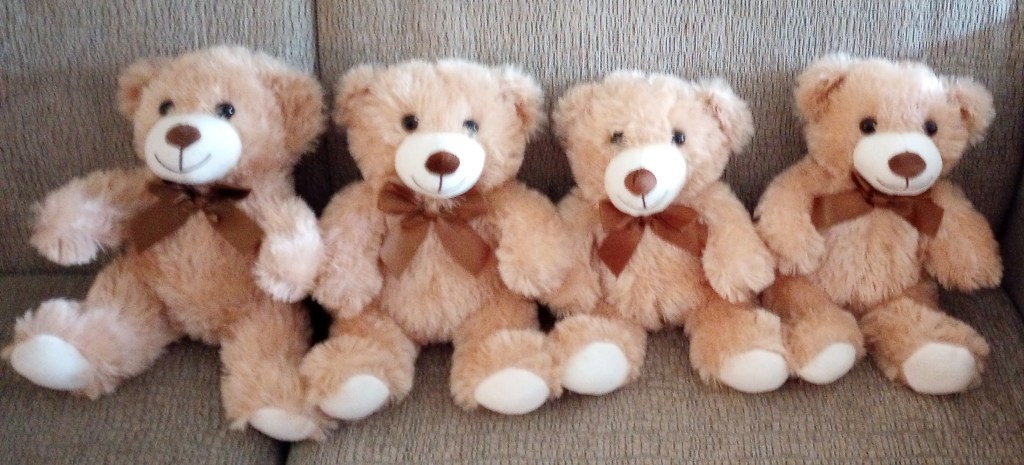
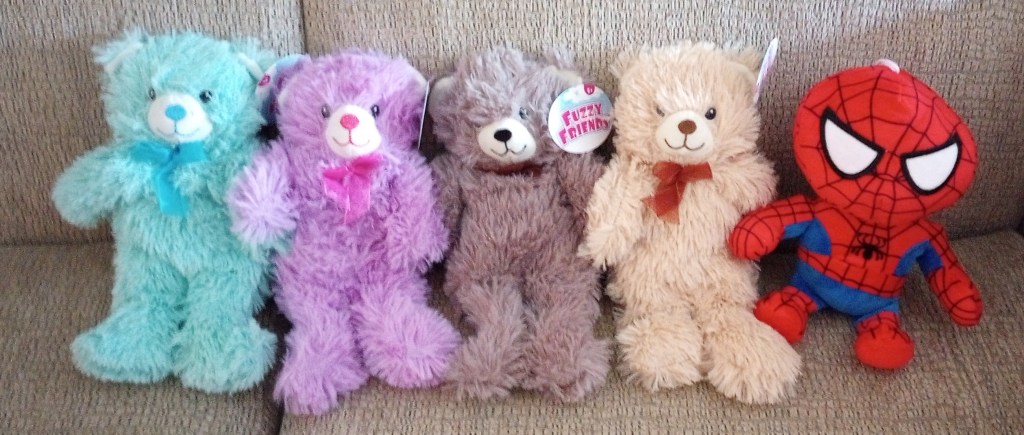
I have some duplicates set aside, but this collection of fuzzy friends I’ve been purchasing recently is a testament to my commitment to this project! The whimsical little quilts that my quilting friends choose to join me in making (in any of the ranges of sizes below, either square or rectangle) will also be wrapped around one of these cuties and tied with a bow. My greatest hope is that a little heart will feel every ounce of love that was stitched into each one of them. ♥

Large for 22″ to 24″ size quilt

Medium for 20″ to 21″ size quilt

Small for 18″ to 19″ size quilt

I hope to update these images with better photos soon~

The binding scrap plan

I have a plan! Picture this: A quilter that actually spends more time USING scraps than endlessly dreaming up storage solutions.

But, let’s be real—creating a quilt solely from leftover binding would take… I don’t know how long, but I can guess it’s longer than I’d want it to! While the goal is to use leftover binding bits, they’ll be other scraps joining them along the way.

Coming up with ideas for 2 1/2″ strips seems pretty simple, until you try doing it. Too many block ideas require more than just one fabric and a background. Having to collect another strip or two before I can make a block is not at all what I have in mind.

I nixed ideas like a 3 fabric rail fence block because I don’t want to a leftover strip to sit in some sort of container somewhere waiting for their future fabric friends to show up. If I can turn it into a quick, simple block right away, I’m way less likely to enter my procrastination black hole!

Another goal was to pick out the other fabrics for my tops ahead of time from my fabric stash, avoiding the chaotic game of “find the right match” after creating a bunch of blocks. A few days ago, I chose a couple of fabrics, but then I had a classic case of fabric remorse and swapped out a couple of them for different ones.

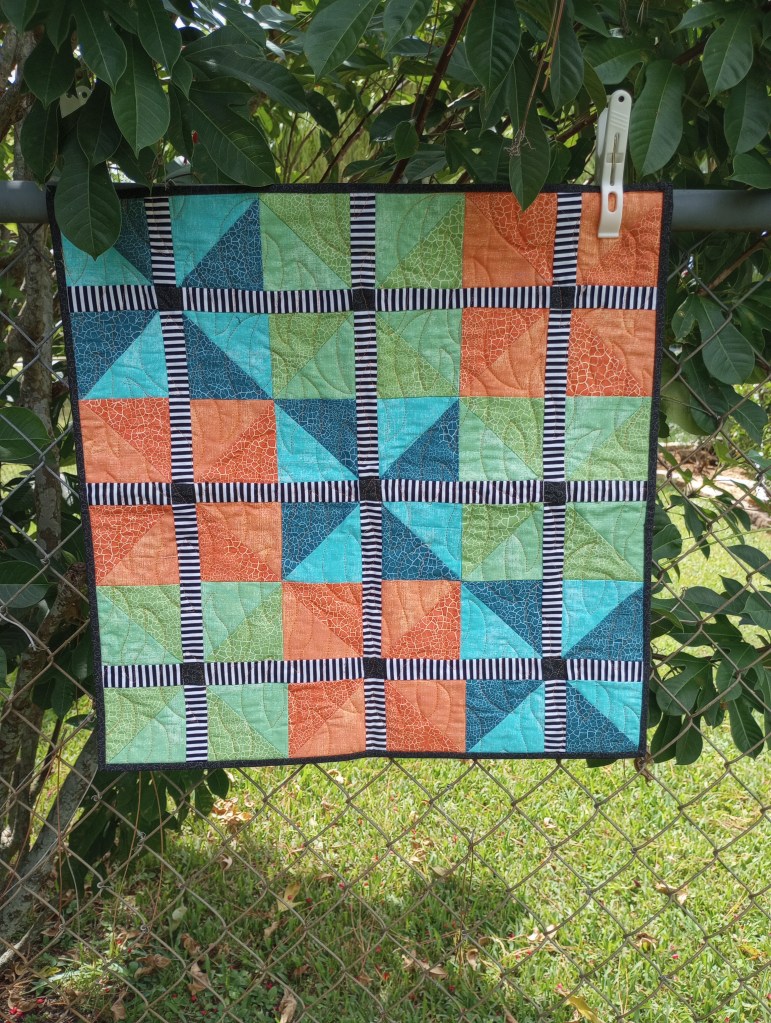
Three of the tops will be made using the Zippers pattern by Urban Elementz. I’ve owned the pattern for a long time. I graphed it out anyway because I wanted to adjust the size. I also had to make sure I’d be able to use the directional print I choose for this first quilt. The good news is, the piecing doesn’t get much easier than this.

I made my plans last night and as soon as I woke up, I embarked on an epic quest to cut up all the background pieces needed for all the scrap quilts—because who doesn’t want to feel like a mad scientist in their sewing room first thing in the morning?

It’ll make it a lot easier to know I have enough blocks for a top when I run out of background squares in it’s project bag – than to continually keep counting the units and calculating like I’m preparing for a math test. 🙂

I also graphed it using 2 1/4″ wide leftovers—I needed a smaller child size version, and it’ll work with the one-yard focus fabrics I’d like to use with them. I still bind with 2 1/4″ strips occasionally and they’ll work well here. I’ll just give those wider pieces a little trim if the color works better with these prints than the larger adult lap size above.


I love using stripes, checks, plaids, and all sorts of geometric prints for binding. So, I’m planning two quilts to use them up. They’d be waaaay too busy to use the zipper design.

The first one uses an 18″ length strip for each block. It only needs 24 blocks plus some snazzy borders, so I fully expect it to strut across the finish line before all the others.

The second one is a classic two-rail fence block, the superhero of short fabric scraps.

I’d toyed with the idea of whipping up some 9 patch blocks out of those pesky leftover 2 1/2″ squares, but then I had an epiphany—why not be a little more creative? As I rummaged through my inspiration photo albums (aka my wish list), I stumbled upon not one, but two fantastic 4 patch quilt ideas that I’d saved. Talk about a jackpot! I mean, who needs 9 patches when you’ve got coordinating fabrics ready to party with a 4 patch?

To keep my sanity, I’m shoving all that coordinating fabric into a project bag with the photos, because forgetting what you planned to make is just awful! (Or so I’ve heard, because it NEVER happens to me! 😉

For now, I’ll dive headfirst into making a mountain of 4 patches as my next leaders/enders—who knows, maybe I’ll eventually conquer both designs. I’ll keep this little clear bin next to my sewing machine as a monument to my ever-evolving creative chaos! (I’m starting to sound like maybe I didn’t get enough sleep after all. LOL)


It may seem like I have a mountain of projects planned, and I do. But, I think that’s what it’s going to take to wrangle those scraps into submission!

I absolutely love making string quilts and go through a lot of scraps/strings less than 2″ wide. It’s those slightly larger pieces that have declared a rebellion—getting ready to scale the walls of their containers and stage a jailbreak.

Grabbing a square or two to stitch onto another piece is about as challenging as ordering takeout.

I’ve got 30 projects on my “to make” list, which will happily churn out even more scraps. If I don’t manage to finish at least one scrap quilt every quarter, I might have to face the reality that these scraps are just not that into me!

Once I graduate using up binding scraps as I go, I’ll tackle planning and making a scrap quilt from start to finish from the other bins… or decide it’s not my thing and stop saving them.

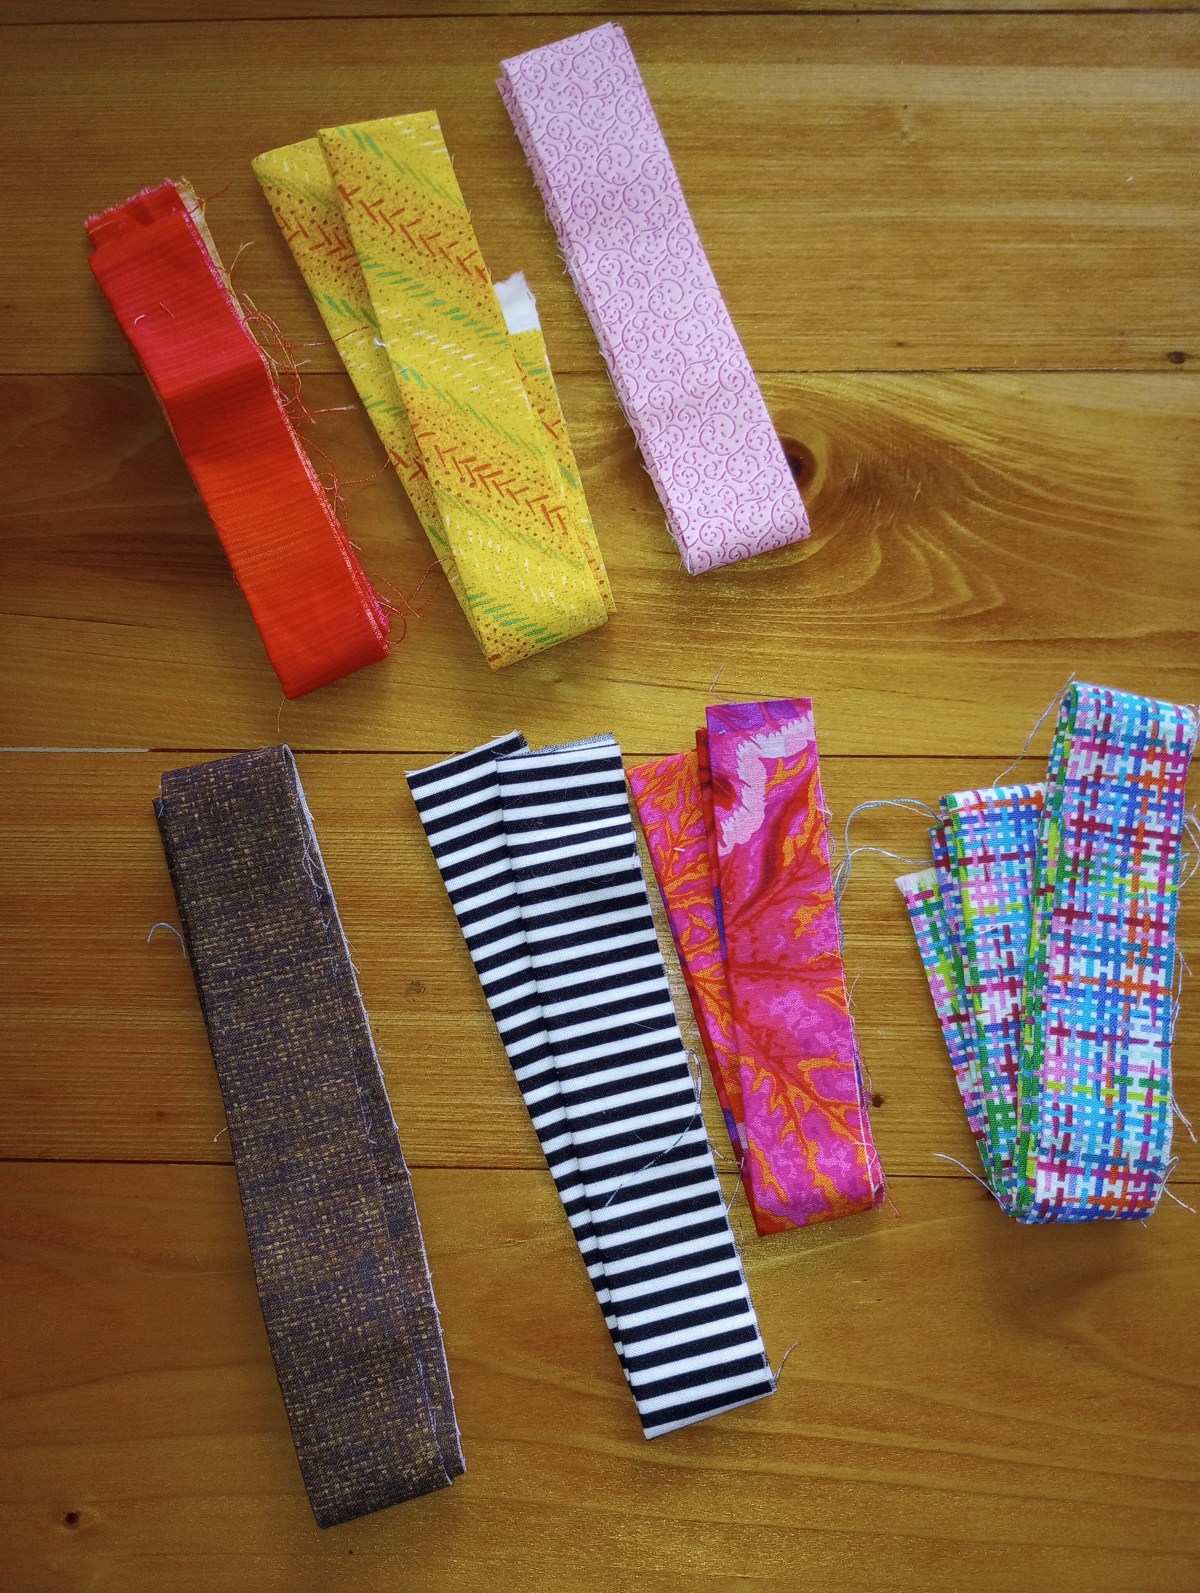
Binding Scraps

If you’re a quilter, you have them. We all do! Suggestions on how to sort and use them could fill books – and they have.

This post is specifically about those leftover binding pieces.

When you’re working through personal projects or finishing donation quilts, the last thing on your mind is what to do with that leftover piece of binding. They often end up in a drawer or bin where they linger for… well, who knows how long?

Many of us love scrappy quilts, but the full-on “kitchen sink” look isn’t as appealing to some of us as a quilt with a more cohesive feel. I definitely fall into that camp.

I’ve decided to start using these bits as I create them, instead of letting them pile up. I’m in the process of choosing a couple of block patterns to use. The top priority is something fast and simple so it actually gets made — even better if it’s easy enough to piece as a leader/enders block. No doubt there will be a lot of 2 1/2″ squares, so either a four or a nine patch block will probably be on the list too.

Pulling a few fabrics for possible borders can help motivate me to get the blocks made and organized. I plan to keep each of these fabrics in its own project bag and add blocks to it as they’re finished, until there are enough for a quilt top. These are preliminary choice and they may change after I decide on the block or pattern idea I’ll want to use.

I’ll share my block choices with you soon. Stay tuned!

Quilts Pieced with Purpose

A community-focused quilting project dedicated to creating and donating quilts.